Tag: step by step

  • How To : Upgrade Micromax A85 to Android 2.3.4 Gingerbread, Step by Step ( iGyaan Version)

    How To : Upgrade Micromax A85 to Android 2.3.4 Gingerbread, Step by Step ( iGyaan Version)

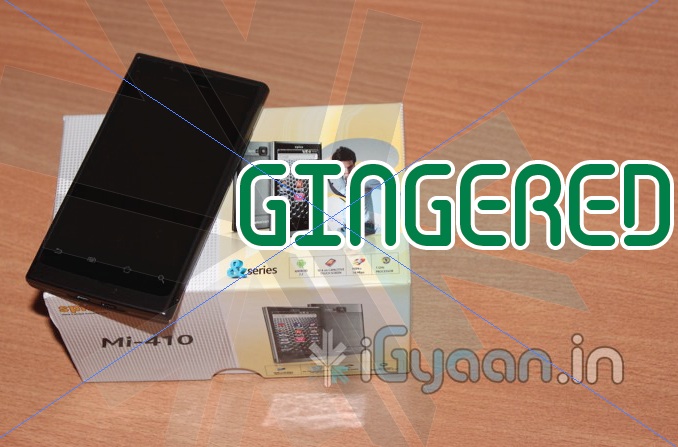
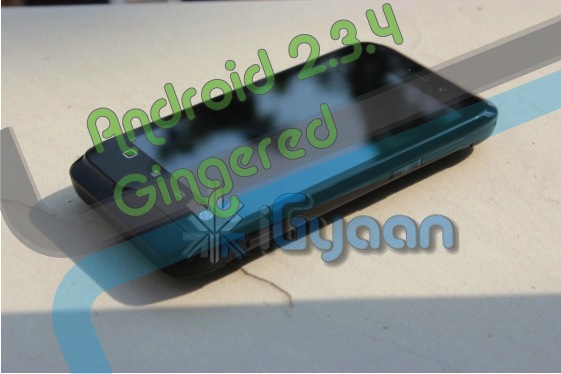
    Happy March 2012 people, since we promised a stable workable rom for the A85/ cherry Magnum / K Touch k700 with Android 2.3 , we are here to deliver in time. 

    Before we begin with the update process there are a few things we would like to clear out few important things with you people.

    Important Notes 

    1. We do not take guarantee that this rom will work perfectly and could crash / damage / brick your device. So proceed with your own caution.


    2. This ROM has been cooked by iGyaan but is majorly based on the official Cherry Magnum 2x update (you will see once you flash your phone)
    3. We have added bug fixes and tweaks from the Micromax Android 2.2 rom and K-touch K700 Rom to this upgrade.


    4. Unfortunately during the update you will loose all data/ apps and most importantly gesture features from the Micromax 2.2 stock rom. So Please Backup Accordingly.


    Here are our finding with this rom.

    (Based on 3 test units)

    1. Its very stable = Little or no crashes.
    2. Audio quality is excellent and networks are solid.
    3. Battery performance seemed better / depends on usage.
    4. Very fast and snappy.


    Okay now that you are aware of the above lets begin with the process.

    Tutorial

    What you need

    • Micromax A85/ Cherry Magnum 2x / KTouch K700 (either will do).
    • Windows PC.
    • RAR expander ( winRAR etc.).
    • USB-MicroUSb Data Cable.
    • iGyaan Update Bundle : [button link=”https://rapidshare.com/files/1042248031/igyaan_a85_bundle.rar”]Download Here[/button]
    • Finally , A strong heart and lots of patience.


    Step One 

    • Make sure you downloaded the iGyaan Update Bundle : if not then [button link=”https://rapidshare.com/files/1042248031/igyaan_a85_bundle.rar”]Download Here[/button]
    • Extract the RAR on your desktop.


    Step Two 

    • Extract vcredist_x86.rar and install the software within ( its Visual C++ redistributable)


    Step Three

    • Power off your A85/ Cherry Magnum 2x / KTouch K700
    • Once OFF : Hold the Power + Volume Up button till you see a Green Display 
    • Let go immediately after you see the green screen on the device

    Step Four

    • Plug in the USB cable into the PC and attach it to the A85/ Cherry Magnum 2x / KTouch K700
    • Windows will try and install the drivers but will not be able to.
    • Manually select the drivers ( included in the igyaan bundle in a folder called usbpcdriver)
    • Once the drivers are successfully installed Reboot you pc

    Step Five

    • Once rebooted Navigate to the iGyaan bundle and then folder NvMultiDown
    • Now run the NvMultiDOwn.exe


    Step Six

    • Once the program is running On the right side select the “iGyaan 2.3.4” update folder 
    • Uncheck the 2 boxes below the file location. (if they are checked.)
    • Remove the battery and usb cable from you A85/ Cherry Magnum 2x / KTouch K700
    • Repeat Step 3 from above and connect the Device to the USB cable
    • Once you connect the device will show up in the NvMultiDown program
    • Your device will start to update.

    Step Seven

    • Once Update finishes your device will boot with Android 2.3.4
    • Enjoy!


    Now a lot of you may face problems with the update, so those who figure out answers to the problems please help each other out in iGyaanForum.com in the discussion thread : [button link=”http://igyaanforum.com/showthread.php?t=541″ bg_color=”#bcc483″ border=”#7a097a” text=”dark”]Discussion Thread[/button]


    Please don’t mirror the downloads and keep the original link intact.

    If you create instructions don’t forget to link back to this page and don’t copy our links.


    Micromax Android 2.2 Stock Rom

    Incase you are facing problems with the 2.3 build that you cannot find a fix for, we have instructions to revert to the original rom. in our update bundle we have also included the stock rom.

    The stock Rom also includes the gestures app and all stock applications , incase you have warranty issues you can revert to the stock ROM aswell.

    Tutorial to revert to Stock 2.2

    Follow Step 1 – Step 5 Above

    Step Six

    • Once the program is running On the right side select the “Stock mmx 2.2” folder 
    • Uncheck the 2 boxes below the file location
    • Remove the battery and usb cable from you A85/ Cherry Magnum 2x / KTouch K700
    • Repeat Step 3 from above and connect the Device to the USB cable
    • Your device will start to downgrade to 2.2

    Step Seven

    • Once Update finishes your device will boot with Stock Micromax Rom.
    • Enjoy!


    Video Coming Shortly!

  • Bam and its torn down! The iPhone 4s Gets the iFixit !

    Bam and its torn down! The iPhone 4s Gets the iFixit !

    The folks over at iFixit cant refrain from their antic and this time around they ripped the Jesus phone before it reached out to people. They have a humorously documented rip down of the new “Siri” laden smartphone. A looksie i promise will bring a smile to your face follow the link below!

    The findings are not too shocking with the same 512MB of Ram Courtesy Samsung/Elpida (both DDR2), and the following chips:

    • Qualcomm RTR8605 Multi-band/mode RF Transceiver.

    • Skyworks 77464-20 Load-Insensitive Power Amplifier (LIPA®) module developed for WCDMA applications)

    • Avago ACPM-7181 Power Amplifier

    • TriQuint TQM9M9030 Multi-Mode Quad-Band Power Amplifier Module.

    • TriQuint TQM66052 (possibly a PA-Duplexer Module)

    • Qualcomm MDM6610 chipset (an upgrade from the iPhone 4’s MDM6600)

    • Apple 338S0973, newer version of the Cirrus Logic audio codec found in the original iPhone 4

    •  “PM8028,” which is a Qualcomm power management IC.


    iFixit

  • How to : Upgrade the Spice Mi 410 to 2.3.4 Gingerbread Step by Step

    How to : Upgrade the Spice Mi 410 to 2.3.4 Gingerbread Step by Step

    The Spice Mi 410 was launched some time back, we also got an unboxing video for you guys. Now thanks to several readers of iGyaan, we found a way to update the Mi-410 to the latest Software Update Android 2.3.4 aka Gingerbread, and we tell you how!


    Note : Please take a backup of your device, contacts/ pictures / files, anything thats important.

    Also Note : This might void your warranty or damage your device and you do this at your own risk


    What you Need!

    1. Spice Mi 410 (Duh!)
    2. A Windows / Mac
    3. Data cable (USB-microUSB) / Memory Card reader
    4. Patience
    5. Combo Update [button link=”http://www.cherrymobile.com.ph/downloads/MAGNUM_softwareupdate2.zip” style=”download”]DOWNLOAD [/button]

    Step 1

    Download the above mentioned file, its an update for Cherry Mobile Magnum, which is actually the same handset, branded under the cherry mobile name.


    Step 2

    Extract the ZIP file. downloaded above and copy the extracted FB0-318B-0-5019-A01.nb0 to your SD card. Make sure it is placed in the Root Folder and not in the Downloads folder.

    Also rename the file FB0-318B-0-5019-A01.nb0 to firmware.nb0 you can do this before or after copying the file, it does not matter.


    Step 3

    Enter bootloader mode :

    • To do this first power off your device.
    • Once off, Hold – Vol Up + Vol Down + Power Button and you will see the Android Image as below

    • Next Hold down on the home button and you should be in the bootloader mode see below


    Step 4

    • Use the volume down button to scroll to “Download nb0 from SD card”
    • Then tap the back Button


    Your phone should now upgrade to the new firmware and reboot into the new os with the Cherry Mobile Logo.

    Quickly jump into Settings to confirm the Upgrade

  • DIY : How to Install Android 2.3 Gigerbread on you Samsung Galaxy Ace

    DIY : How to Install Android 2.3 Gigerbread on you Samsung Galaxy Ace

    Today we are going to show you how to Install GingerBread 2.3 on your SAMSUNG GALAXY ACE mobile PHONE.


    What you will NEED!


    1. A Samsung Galaxy ACE (DUH!).

    2. The 2.3 Firmware S5830( click here to download password =  samfirmware.com).


    3. ODIN downloader (click here to  download). and USB Driver (Click HERE)

    4. OPS files (click here to download).

    5. A windows PC + samsung data cable.


    Important NOTES:

    If you get errors after upgrade : i.e. error: phone application has stopped working or get constant crashes,do the following:

    To fix phone not working, initiate restore phone to factory settings command from Settings – Privacy

    TAKE SERIOUS CONSIDERATION BEFORE UPGRADING AND HAVE YOUR BACKUP IMAGE READY IF SOMETHING GOES WRONG – use the OLD FIRMWARES: (All backup images can be found here)

    • Make sure your device is fully charged!
    • BE sure to backup all your data!
    • You are doing this at your own risk, Although, This will NOT void your warranty!
    • Your phone does not need to be rooted to get this working.


    AFTER BACKUP – FACTORY RESET YOUR PHONE BY ENTERING THE FOLLOWING CODE

    *2767*3855#


    STEP 1

    Download all the files above, and make sure you have the latest version of KIES software installed.

    STEP 2

    Extract the RAR to get a .tar file.

    STEP 3


    Open ODIN Downloader.

    MAKE SURE you select One Package, Auto Reboot and Protect Ops checkboxes.

    Select the Ops file (the file we downloaded earlier).

    And finally select the tar package we extracted from the RAR downloaded earlier.

    (You can also extract the rtar and select packages indivisually)


    NOW CLOSE ODIN.

    STEP 4

    Backup you phone and data with the KIES software (after you are done exit KIES)

    Turn OFF the Galaxy ACE and remove the Battery

    Reinsert The Battery and Press the following buttons together

    CENTER HOME BUTTON + POWER BUTTON + VOLUME DOWN Together

    Hold the buttons together till you see the downloading screen


    STEP 6 (Final Step)

    CLICK START and wait for process to finish, once done your device will automatically reboot and will have Android 2.3 running on it.

    A Few Things you will notice with 2.3

    • The rom runs faster but uses more RAM
    • Video now is up to 640x480px
    • Camera can’t auto focus.
    • The interface is overall nicer looking and runs smooth
    • There are a lot of bugs and it may crash frequently

    Test this out at your own risk, if you have feedback please leave it below

    Rom Files courtesy (samfirmware.com)

  • Samsung Galaxy 3 Official Android 2.2 Update Giving major Problems |  Froyo’d or Doomed?

    Samsung Galaxy 3 Official Android 2.2 Update Giving major Problems | Froyo’d or Doomed?

    Froyo’d or Doomed? The official update Galaxy 3 Update for Android 2.2 came out a couple of Days ago and multiple users are reporting several problems with the update:


    • Proximity sensor issues
    • Battery Life
    • Problem with silencing the device with volume rockers
    • Swype not working
    • Camera App Crashing

    So if you did update and are facing issues select your issues in the poll below and vote. If You still have not updated and want to despite the errors visit our Step by Step Guide


    [polldaddy poll=4954275]

  • Samsung Galaxy 3 I5801 gets Android 2.2 FroYo update in India + How To

    Samsung Galaxy 3 I5801 gets Android 2.2 FroYo update in India + How To

    Samsung has finally let out their most awaited update for the Samsung Galaxy 3. Android 2.2 aka Froyo is now available for all those with samsung Galaxy 3s in India and Europe.

    To Update your Device

    Make sure your device is fully charged!

    BE sure to backup all your data!


    Step one

    Download the latest version of Kies

    Step two

    Fully charge your Galaxy 3

    Step three

    Connect via the USB cable to your computer

    Step four

    Fire up kies and let it search for update

    if it does not give you an update, check for update manually by clicking the update button in the bottom row.

    Step Five

    Follow the steps on the screen and your device will begin the new update.

    Few features that are in the 2.2 update –

    • A very colorful menu interface
    • The ability to Install apps to the SD CARD
    • Apart from general Performance boost in processor, better battery and ram management.
    • The 2.2 update also adds a lot of bug fixes and tweaks.

    Please leave your questions and feedback below.

  • Happy Holi to all !

    Happy Holi to all !

    Wishing all Readers of iGyaan a very very Happy Holi. May this festival of Color bring about joy and cheer in the hearts and minds of all our readers, Smartphones in their pockets, tablets in their bags and Gadgets in their bedrooms!


    The iGyaan Team

  • How to : fix the Windows Phone 7 Activation Required Screen

    How to : fix the Windows Phone 7 Activation Required Screen

    Okay so you got your new Windows Phone 7 Device, You must be real excited to get the device online access the market place and download cool apps for your Phone. But, as soon as you try to login with your LIVE account the device says , Activation failed :

    Activation Required
    An activation code is required before we can finish setting up your phone. Please contact customer service. You can skip this step and do it later.

    Here is how you fix it, Well it worked for us anyway.

    Step 1

    Since most customer support networks are horribly backed in INDIA, Microsoft India had no clue whatsoever about activation of Windows Phone 7.

    So we placed a call to Microsoft UK

    The Number is +44 08448002400


    Step 2

    Make sure you placed a call during business hours – 9AM – 7PM (GMT)

    Choose option 2 and then option 7


    Step 3

    Tell the support executive that you need to activate a windows phone 7 device to a live account and politely ask him to generate a code for you. Tell him/her that the device was bought in the UK.

    Give your details and wait for him to generate the code.

    Once he gives you the code make sure to write it down properly (all in CAPS)


    Step 4

    Enter the code and enjoy the Live experience.

    If the code does not work call back and request a new one.

    We tried calling MS USA prior to UK, but, their menus seemed much more complex and we couldn’t get through to the right department.

iGyaan Network
Privacy Overview

This website uses cookies so that we can provide you with the best user experience possible. Cookie information is stored in your browser and performs functions such as recognising you when you return to our website and helping our team to understand which sections of the website you find most interesting and useful.