


 Unboxed")
")


DIY : Install Android L On a Nexus Device Right Now

At the I/O 2014 conference, Google showcased the latest version of Android, known only as L until its official launch later this year. Now, Google is offering an Android L Developer Preview, which is essentially an Android L Beta that comes complete with Android L factory images for the Nexus 7 and Nexus 5. You will need these Android L factory images to install the Android L Beta on your device. In addition you will need to install the Android SDK or at least ADB and Fastboot.
Android L may not yet be ready for prime time, but a preview version is now available for Nexus 5 and Nexus 7 (2013 Wi-Fi model), giving users the option to get comfortable with the slew of changes it introduces. Here is how you can download and install it.
P.S. Don’t forget to Back-up first.
Also, if you are just interested in our detailed look at Android L : Hit the bottom ! or Click Here.
What you Need
- The Android SDK Tools, that you can download from Google Developers
- The Android L preview factory image for your Nexus 5 and/or 2013 Wi-Fi Nexus 7, that you can also download from Google Developers.
- A program that can handle archived files, like 7-Zip or WinRAR.
How to do it
Step 1.
Before you can install the Android L Beta to Nexus devices you will need to install ADB and Fastboot to your computer. This is a program that runs on your computer to connect to your Android through a USB cable and flash the Android L Beta to your device.
HOW TO INSTALL ADB ON WINDOWS
If you are using a Windows machine, including up to Windows 8 and Windows 8.1 you can use the 15 second adb installer to streamline the process.
Download the ADB installer for Windows. Find the file, right-click on it and choose Run as Administrator. When prompted you need to give the app access to run as an administrator. After the app launches type a Y and enter to select yes to Install ADB & Fastboot, to intsll ADB/Fastboot systemwide and to install Drivers. When a new window pops up follow the steps to install the drivers.
After this is installed you should be ready to install the Android L Beta on the Nexus 5 and Nexus 7.
HOW TO INSTALL ADB ON MAC, LINUX & CHROMEOS
Nexus Tools makes it easy to install ADB on a Mac, Linux or even ChromeOS. All you need to do is open Terminal on your computer and paste in the code from xda.
This will install ADB and Fastboot on Mac, Linux and Chrome OS without the need to do anything else.
After the script completes you can type ADB or Fastboot to start running either program.
Step 2.
If you are on a Mac/Linux/Chrome OS jump to Step 12
Windows PC folks; go to the folder where Android SDK Platform-tools is located (in my case, its path is C:\Program Files (x86)\Android\android-sdk\platform-tools) and copy the following files to the Root folder:
- AdbWinApi.dll;
- AdbWinUsbApi.dll;
- fastboot.exe.
Step 3.
While in the Root folder, extract the Android L preview factory image to the same location. This will create a new folder inside Root, which name depends on the device.
Step 4.
Open the folder and copy all of its contents to Root.
Step 5.
Now, you have to install the correct drivers for your Nexus 5 and/or Nexus 7. Here is what you need to do:
- After connecting the device to the PC, power the Nexus off.
- Turn on your device in fastboot mode; the key combination for your device is either volume down + power or volume up + volume down + power.
- From Device Manager (Computer -> Properties -> Device Manager) identify your device (it will show up with a yellow exclamation mark icon).
- Right click on it, select Update Driver Software and then select Browse my computer for driver software.
- Select Let me pick from a list of device drivers on my computer.
- From Have Disk… option manually install the android_winusb.inf driver ( its location may be same as C:\Program Files (x86)\Android\android-sdk\extras\google\usb_driver). Accept any prompts that may appear.
- Select the Android ADB Interface option when given the option. Accept any prompts that appears.
Step 6.
Enter fastboot mode, open a command prompt window in the Root folder (while pressing the Shift key, right click inside it and select Open command window here) and use the fastboot devices command.
Step 7.
Open a command prompt in the Root folder. Use the fastboot oem unlock command to unlock the bootloader. A prompt will show up on your Nexus device; use the volume keys to select Yes and press the power button to validate. This command will erase all personal data from the device.
Step 8.
Use the flash-all.bat command to perform a clean install of the Android L preview. Alternatively, you can also open the file with the same name from the Root folder.
Step 9.
Using Notepad, open the flash-all.bat file (or, right click on it and select Edit). To avoid any issues make sure that your Nexus device is disconnected from the PC beforehand.
Step 10.
Identify the fastboot -w update sequence. Remove the -w so the sequence is fastboot update. Save the changes.
Step 11.
Connect your Nexus device to the PC in fastboot mode. Open the flash-all.bat file in the Root folder.
Step 12
For Mac/Linux/ Chrome OS users
Extract the downloaded Android L file onto a folder on your desktop named “android”
Now open a Terminal window and type the following:
adb reboot bootloader
(this will reboot your device into fastboot mode)
In Fastboot type:
fastboot oem unlock
Then hit enter. Follow the on-screen instructions and choose to erase the device. Wait a minute or so for it to unlock. This removes everything on your device.
Now Go into your desktop folder in Terminal
cd /USER/desktop/android
(replace "USER" with your username)

Then type in the following
sudo ./flash-all.sh
(wait about 5 minutes and your phone will reboot into Android L)
And you’re done. Following these steps your device will run the Android L preview. Be aware that you may encounter bugs due to it being in an earlier stage of development. In case you wish to go back to KitKat, you can apply the same steps as detailed in this article, but using a KitKat factory image instead.
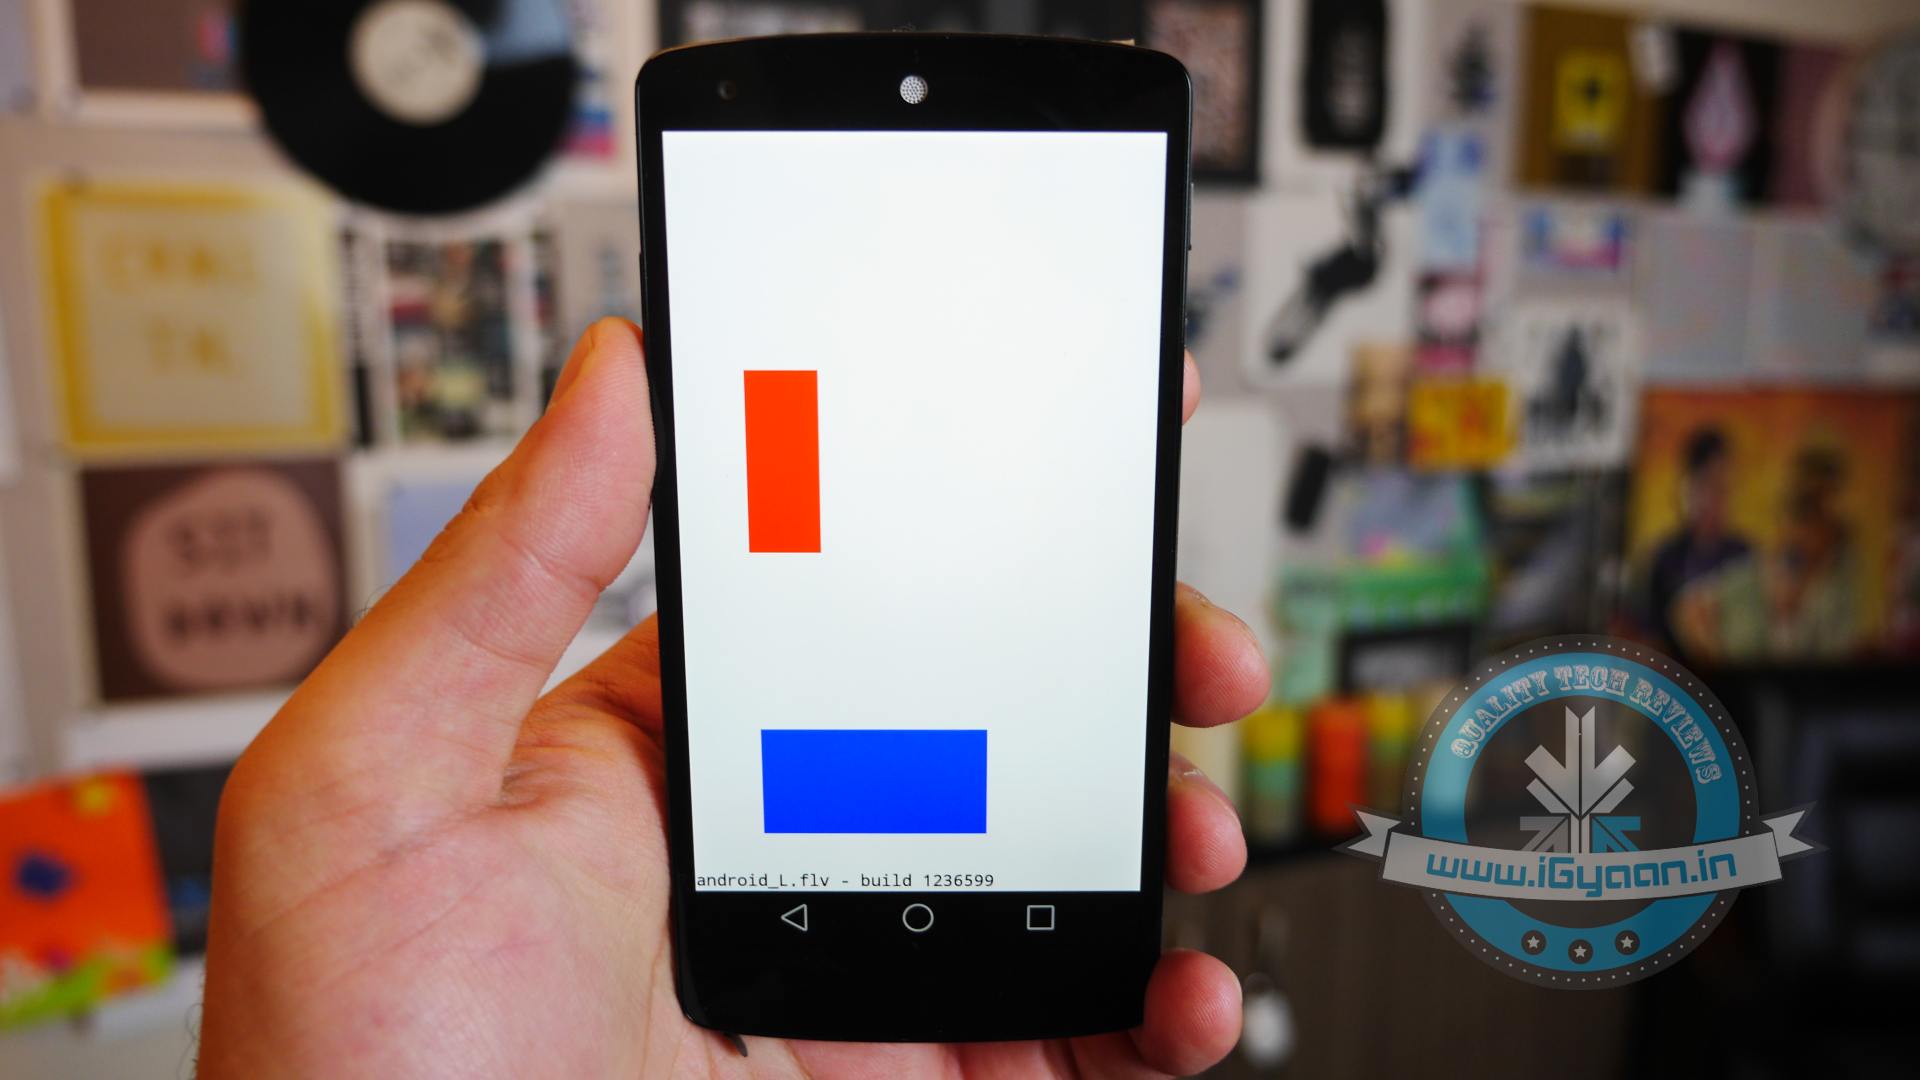
Hands on with Android L
Here is what the Animation looks Like:


