


 Unboxed")
")


The iGyaan Beast PC Build: Components Used, Step By Step Guide

Since the popularity of gaming setups shot up over the past few years, we at iGyaan had an idea of putting together one of the most powerful gaming PCs ever assembled in the country. We researched the best components available in the market and top-of-the-line peripherals to go along with them. When we were done with the components, we decided to start working on building the Beast Gaming PC itself.
The Build has been divided into two sections: The components and the assembly. Check out the video for the PC parts below:
Given below is a detailed list of components that we used in our PC build.
Cabinet: Thermaltake Tower 900
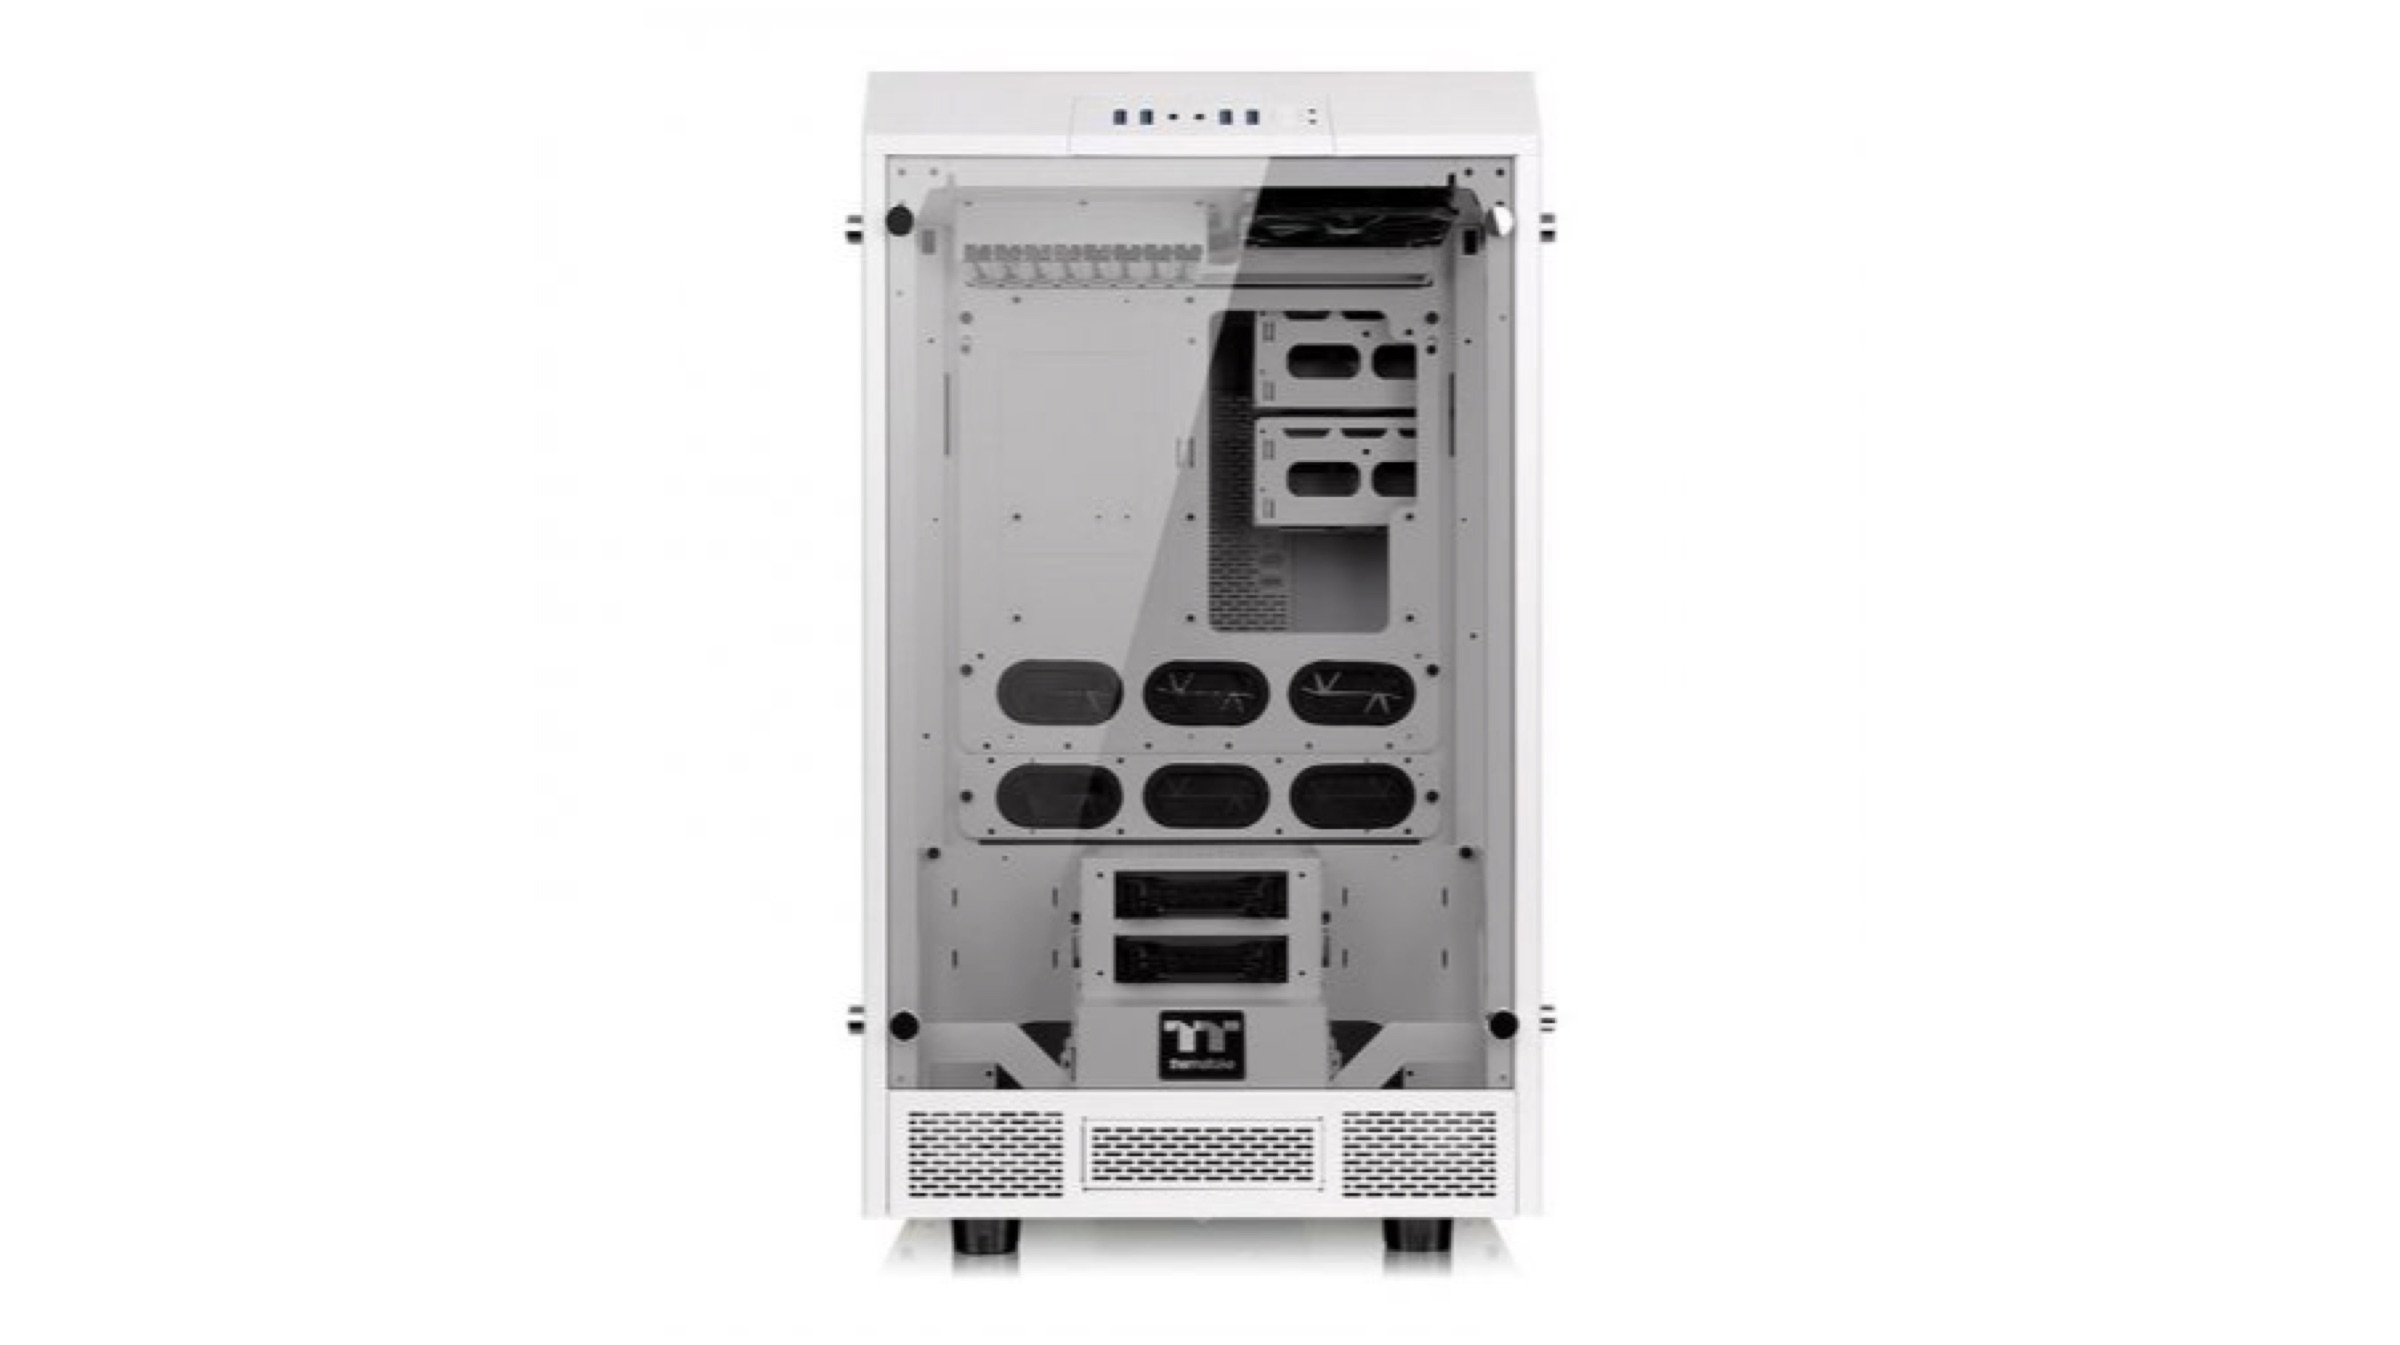 The Thermaltake Tower 900 was a great choice for the build as it has a vertically mounted design, which can easily accommodate two cooling pumps. It is adorned on three sides with Tempered glass, so we can clearly showcase all the components on the build from multiple angles. Plus, the tower has a lot of expansion space, so if we decide to add more components in the future, it won’t be a hassle at all. It has an adequate amount of airflow and cable routing space for management. On top of everything, the white colour looks absolutely gorgeous and goes well with our black and white build theme.
Click here to buy the Thermaltake Tower 900
Processor: Intel Core i9 9980XE
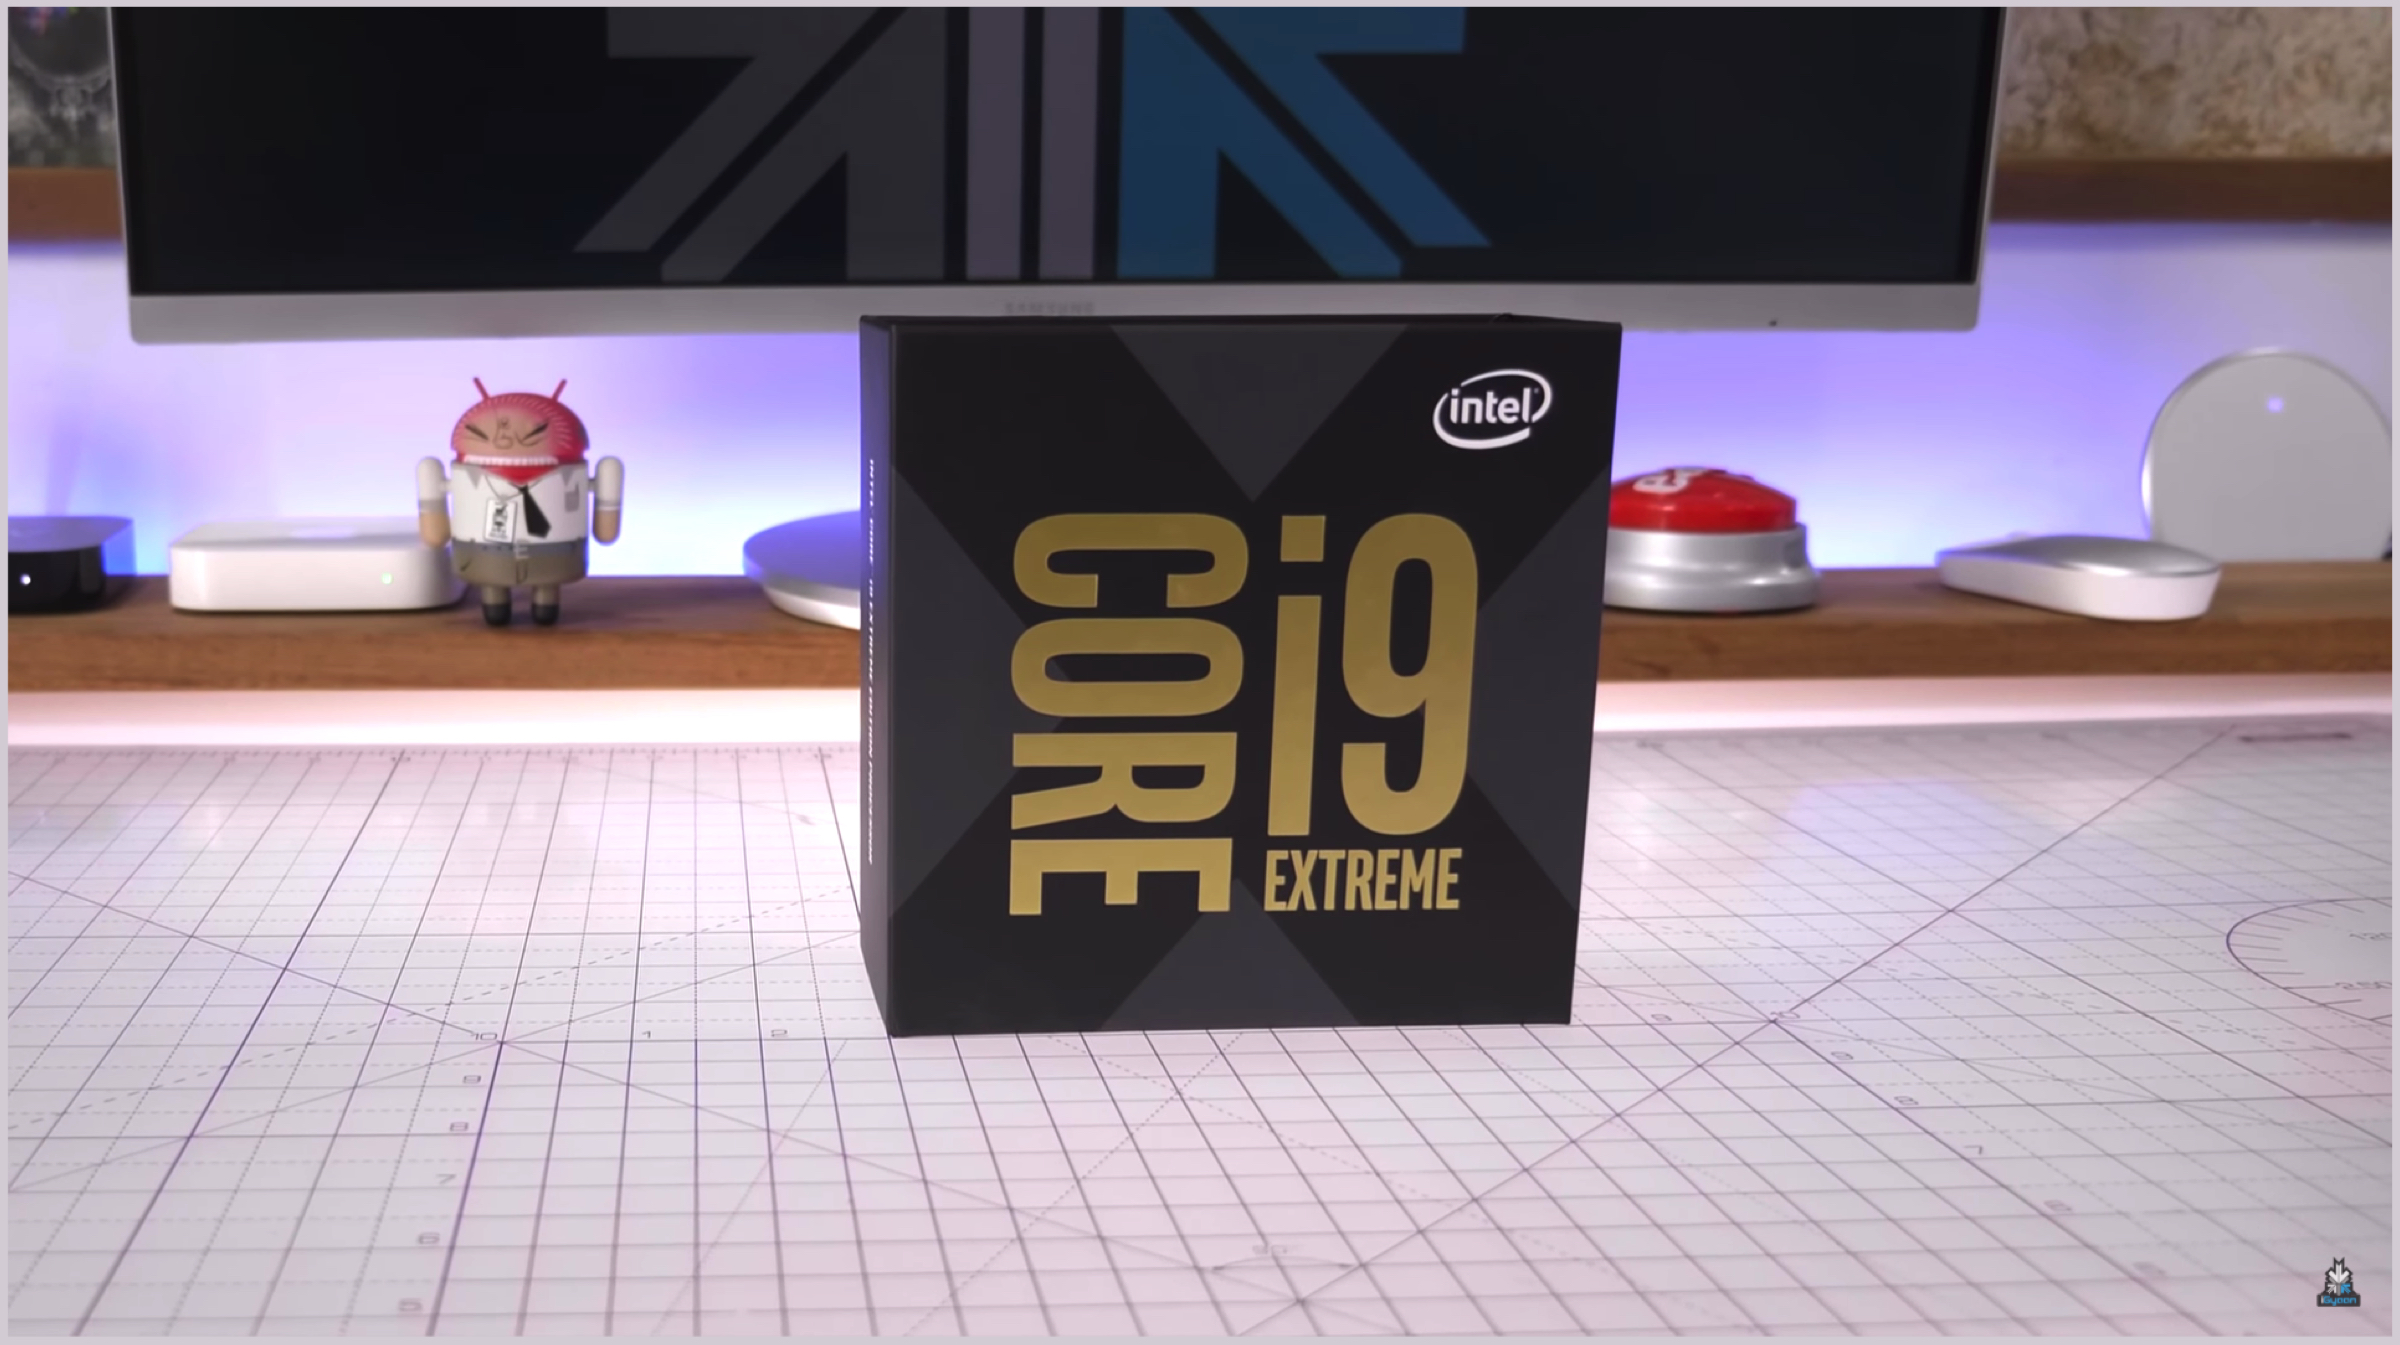 We chose the Intel core i9 9980XE for our build simply because of the sheer magnitude of specifications it offers. The CPU has a total of 18 cores and 36 threads. Out-of-the-box, it operates at a base frequency of 3.0 GHz, but it can be overclocked to 4.50 GHz using Intel Turbo Boost Max Technology 3.0. The processor is compatible with a maximum memory size of 128 GB, which is what we intended to work with.
However, the main reason why we went for the 9980XE was the availability of 44 PCI Express lanes. Even though 44 lanes are still not sufficient for our build (since 32 lanes will be occupied by the dual GPU setup itself), the processor fit our build portfolio quite well. Because we didn’t intend to build the machine solely for gaming, the 9980XE will serve our 8K editing and rendering needs in the future as well.
Click here to buy the Intel Core i9 9980XE
Motherboard: Gigabyte X299 Designare Ex
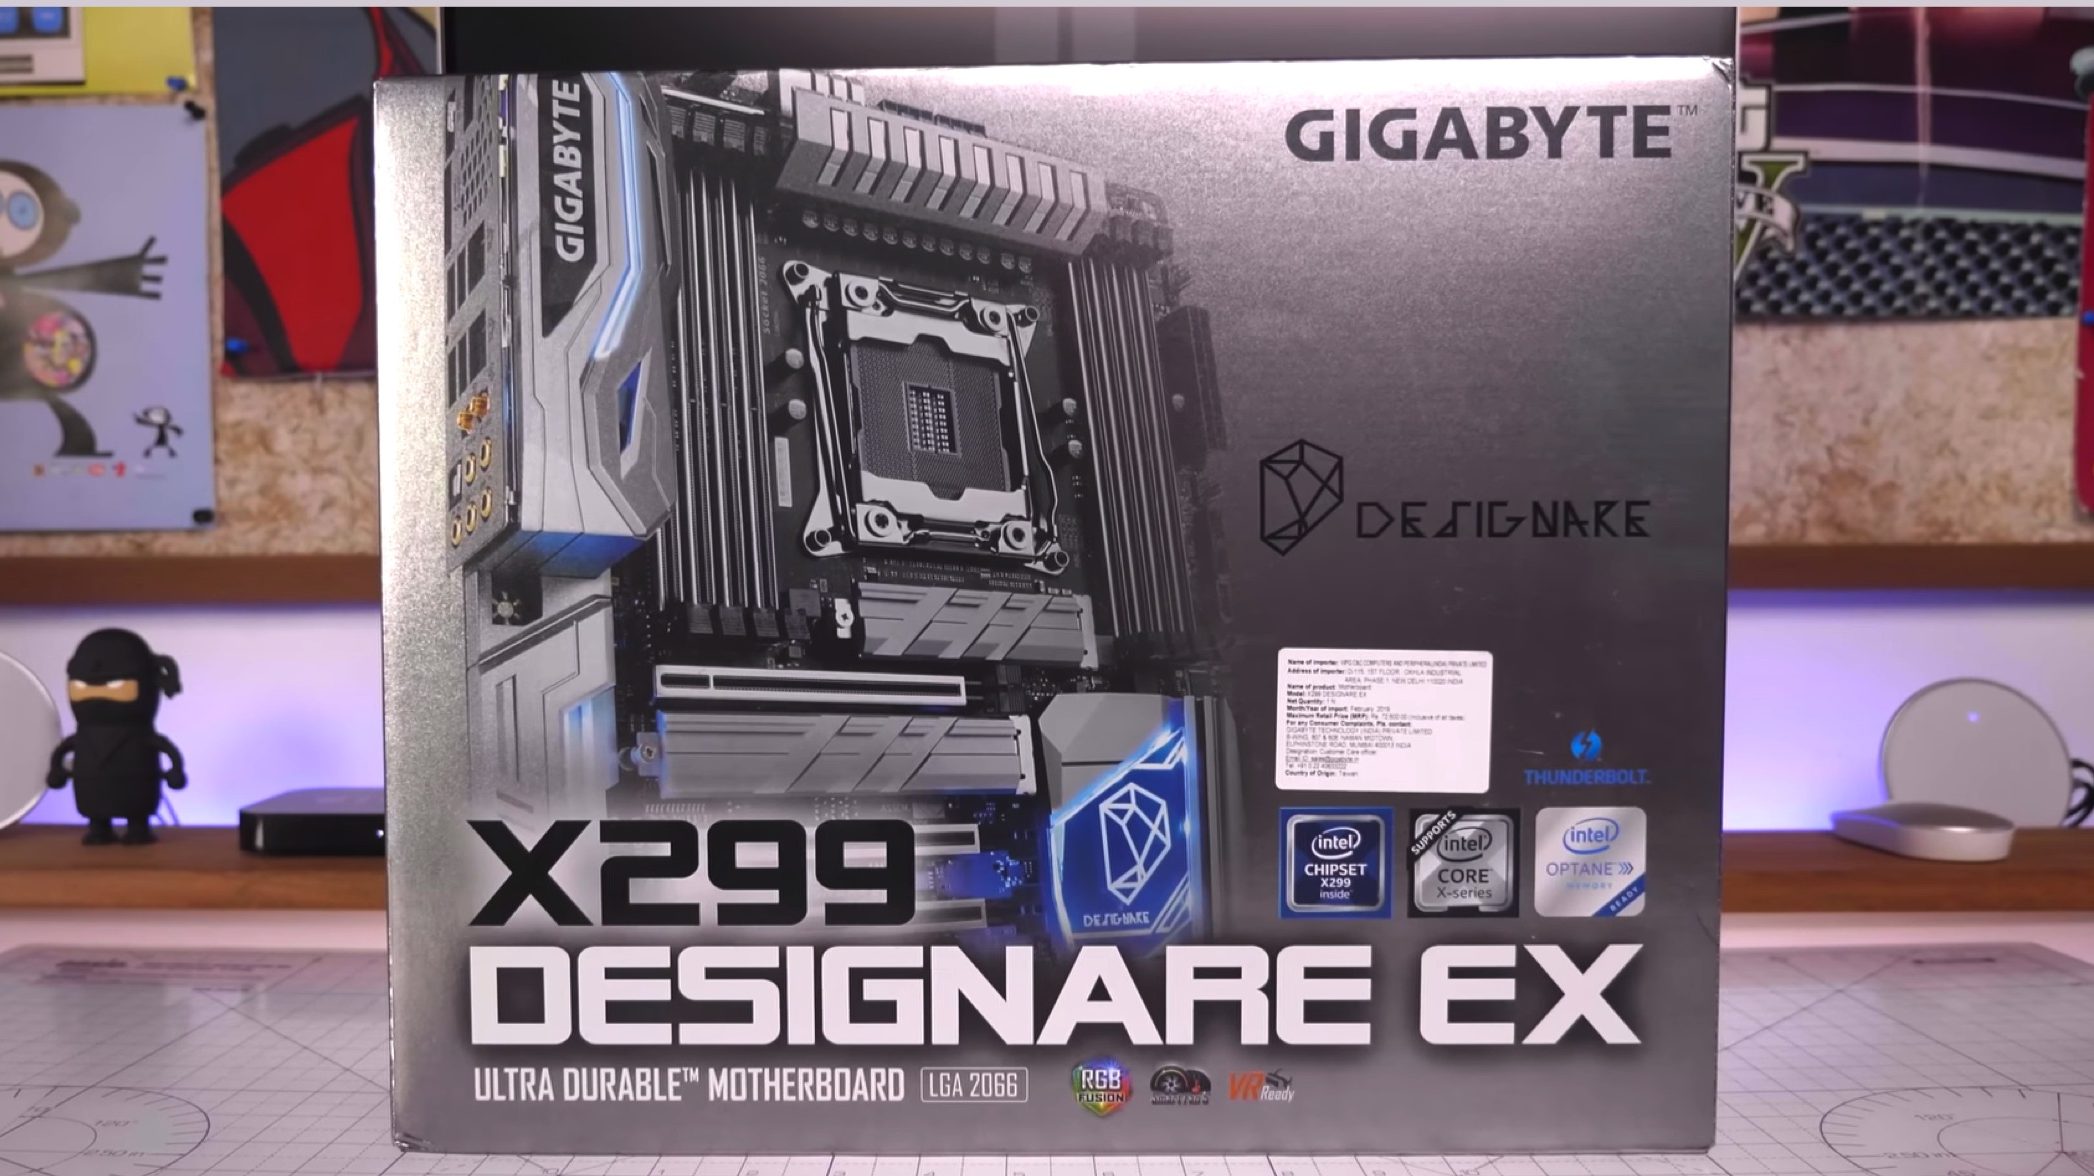 The X299 was perfect for our build considering the fact that we will eventually convert this build into a Hackintosh setup. The Motherboard features a total of 5 PCIe slots which would accommodate our two Graphics Cards and our RAID arrays. Moreover, it also has 3 M.2 slots to house the extra memory chips that are not being included in our RAID setup. The heat shields were also a nice addition. The motherboard is solidly built and the white accents on the board complement our setup to the maximum. Also, the X299 supports RGB Fusion 2.0 which will help us to seamlessly synchronize our RGB strips and fans using the application.
Click here to buy the Gigabyte X299 Designare EX
Memory: Corsair Vengeance RGB Pro 32GB (16GB x 2)
 As we mentioned before, we had support for 128 gigs of RAM in our setup, so that’s what we did. We went for the Vengeance Pro 32GB modules, which had 2 sticks of 16GB RAM each. The memory modules are themselves quite aesthetically pleasing, with a white casing and RGB support. They have DDR4 memory and a clock speed of 3200 MHz per stick. The RGB lighting of the modules can be regulated with the help of Corsair’s iCUE application.
Click here to buy the Corsair Vengeance RGB Pro 32GB (16 x 2)
Storage: Samsung 970 EVO NVMe M.2 2280 (1TB)
Expansion Cards: ASUS Hyper M.2 X16
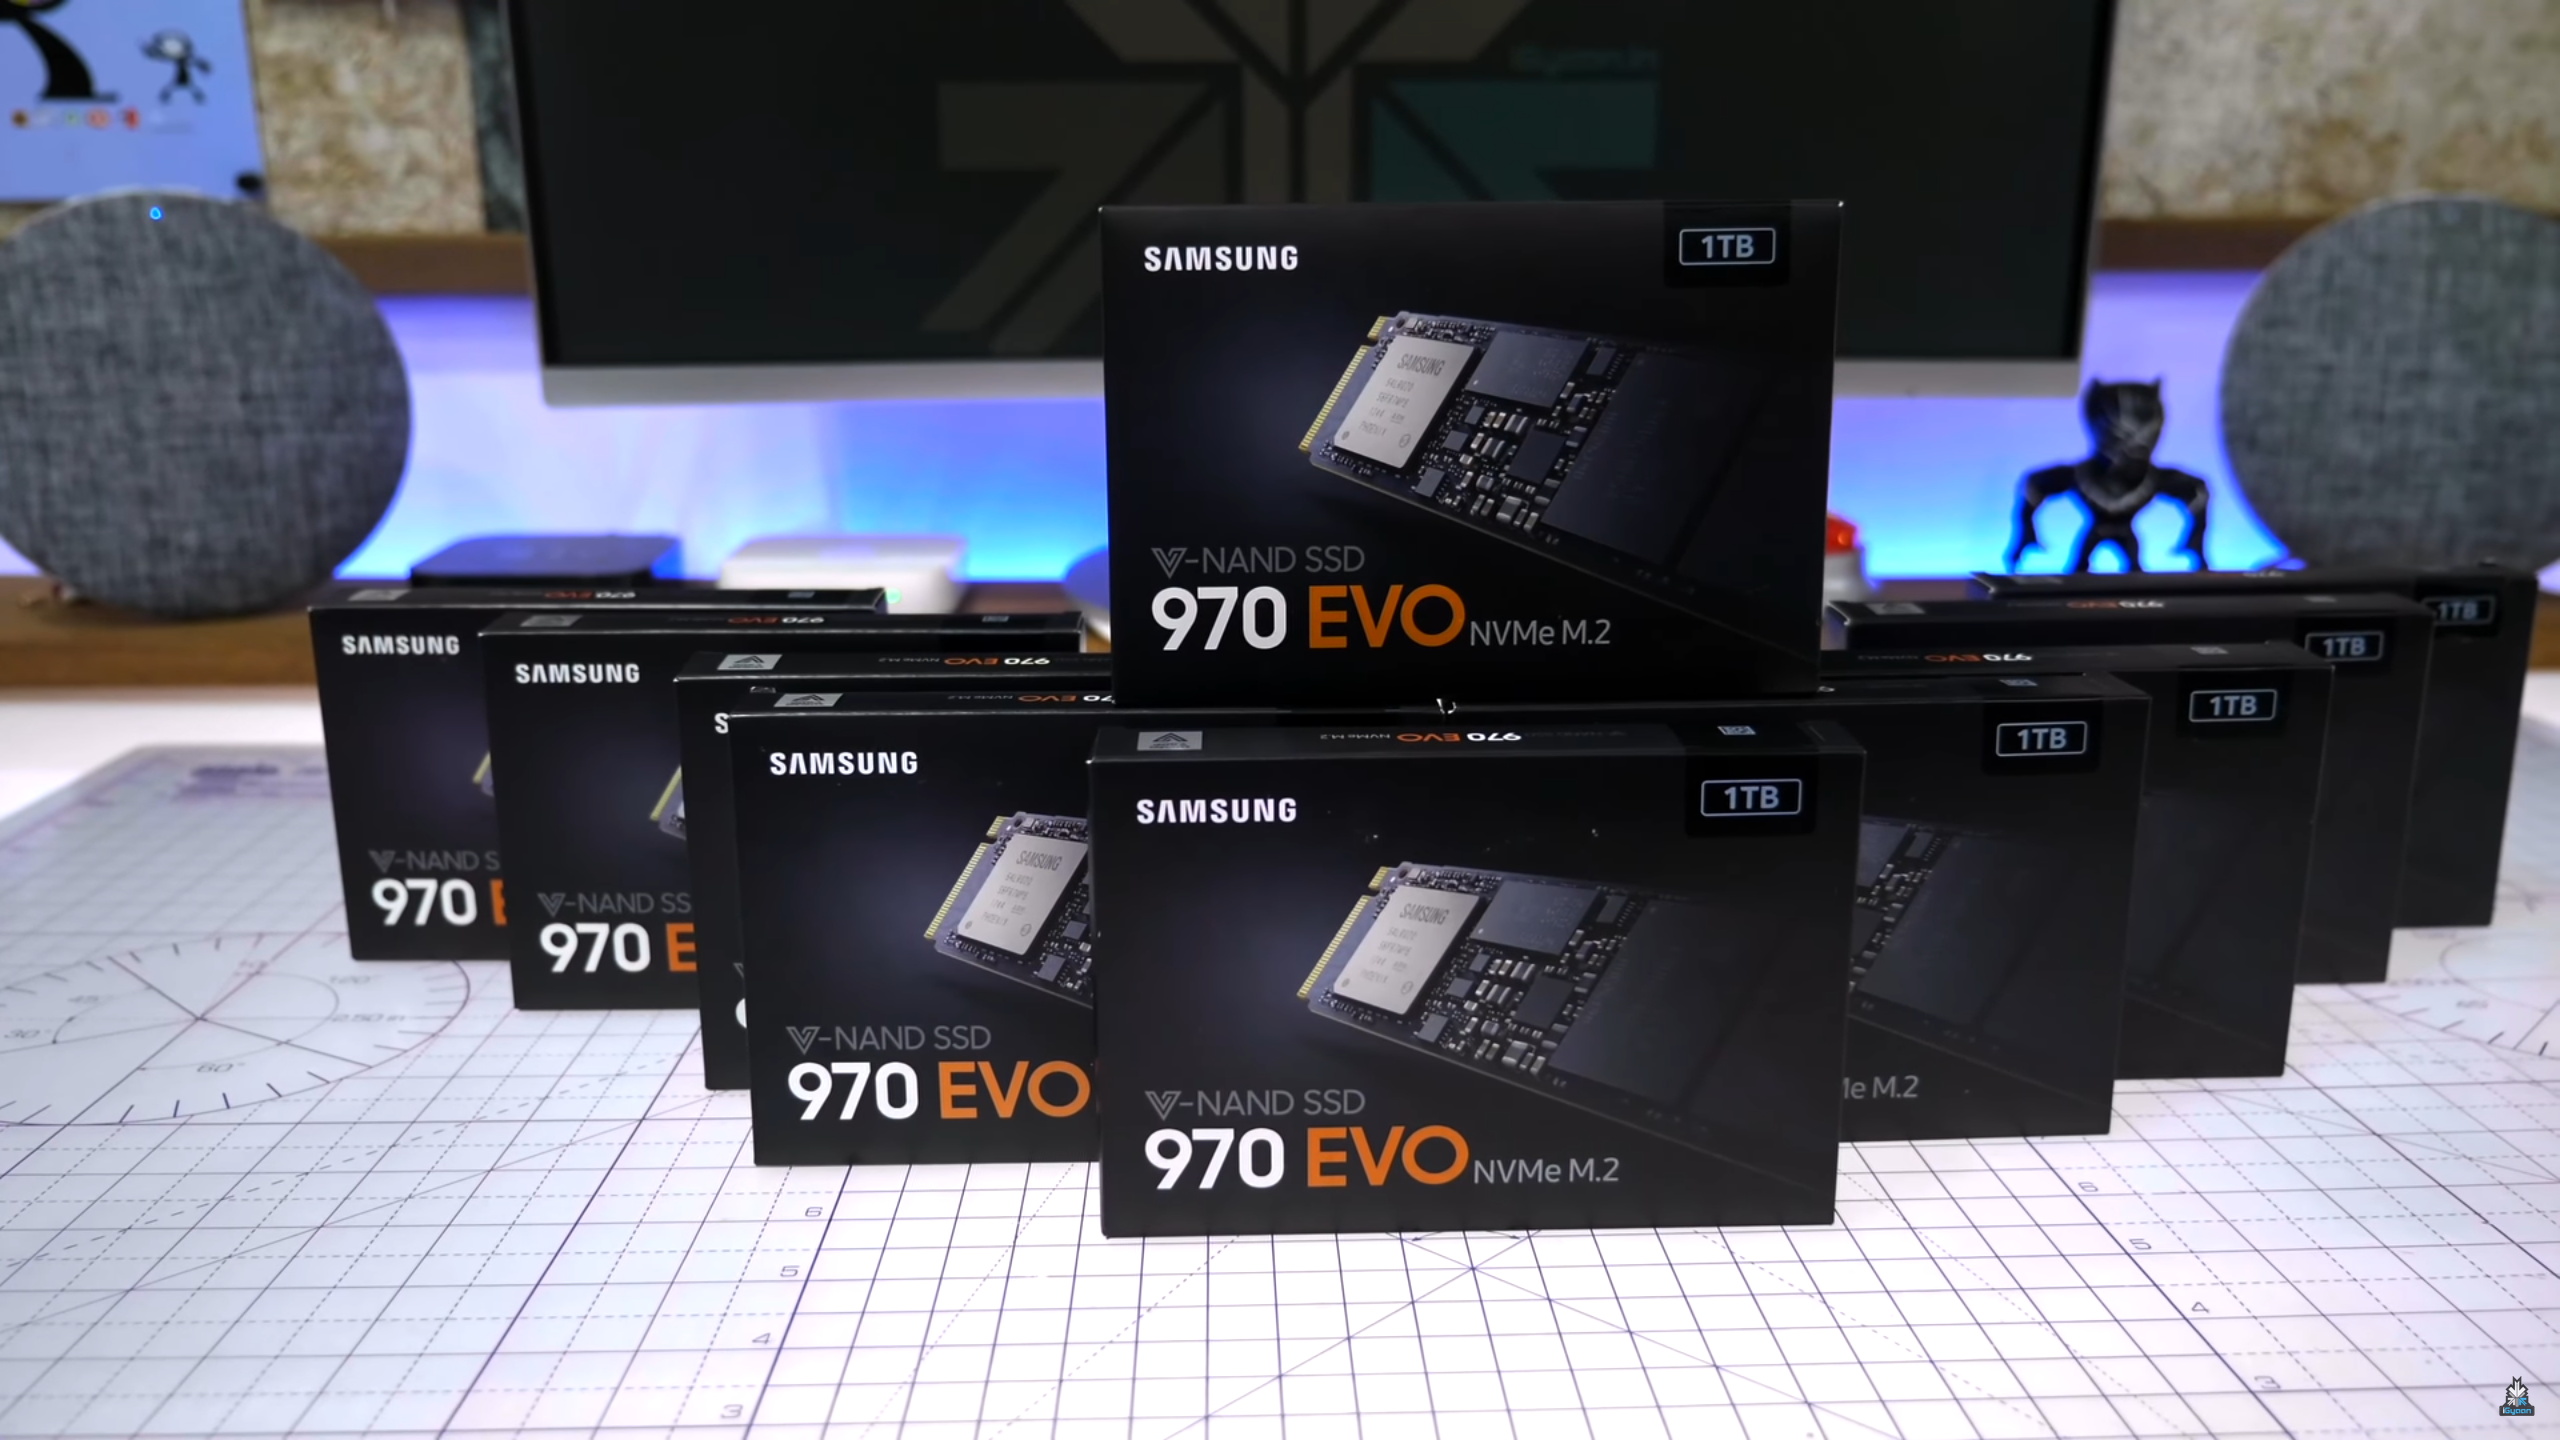 Since we were planning to put together a RAID array setup for our build, we got 10 sticks of the 1TB Samsung 970 EVO SSDs. RAID storage uses multiple disks in order to provide fault tolerance and improves the overall performance of the system. Eight of our 10 sticks were included in our two ASUS Hyper M.2 x16 cards (four SSDs per card) whereas the rest of the two 970 EVOs were used independently in the setup.
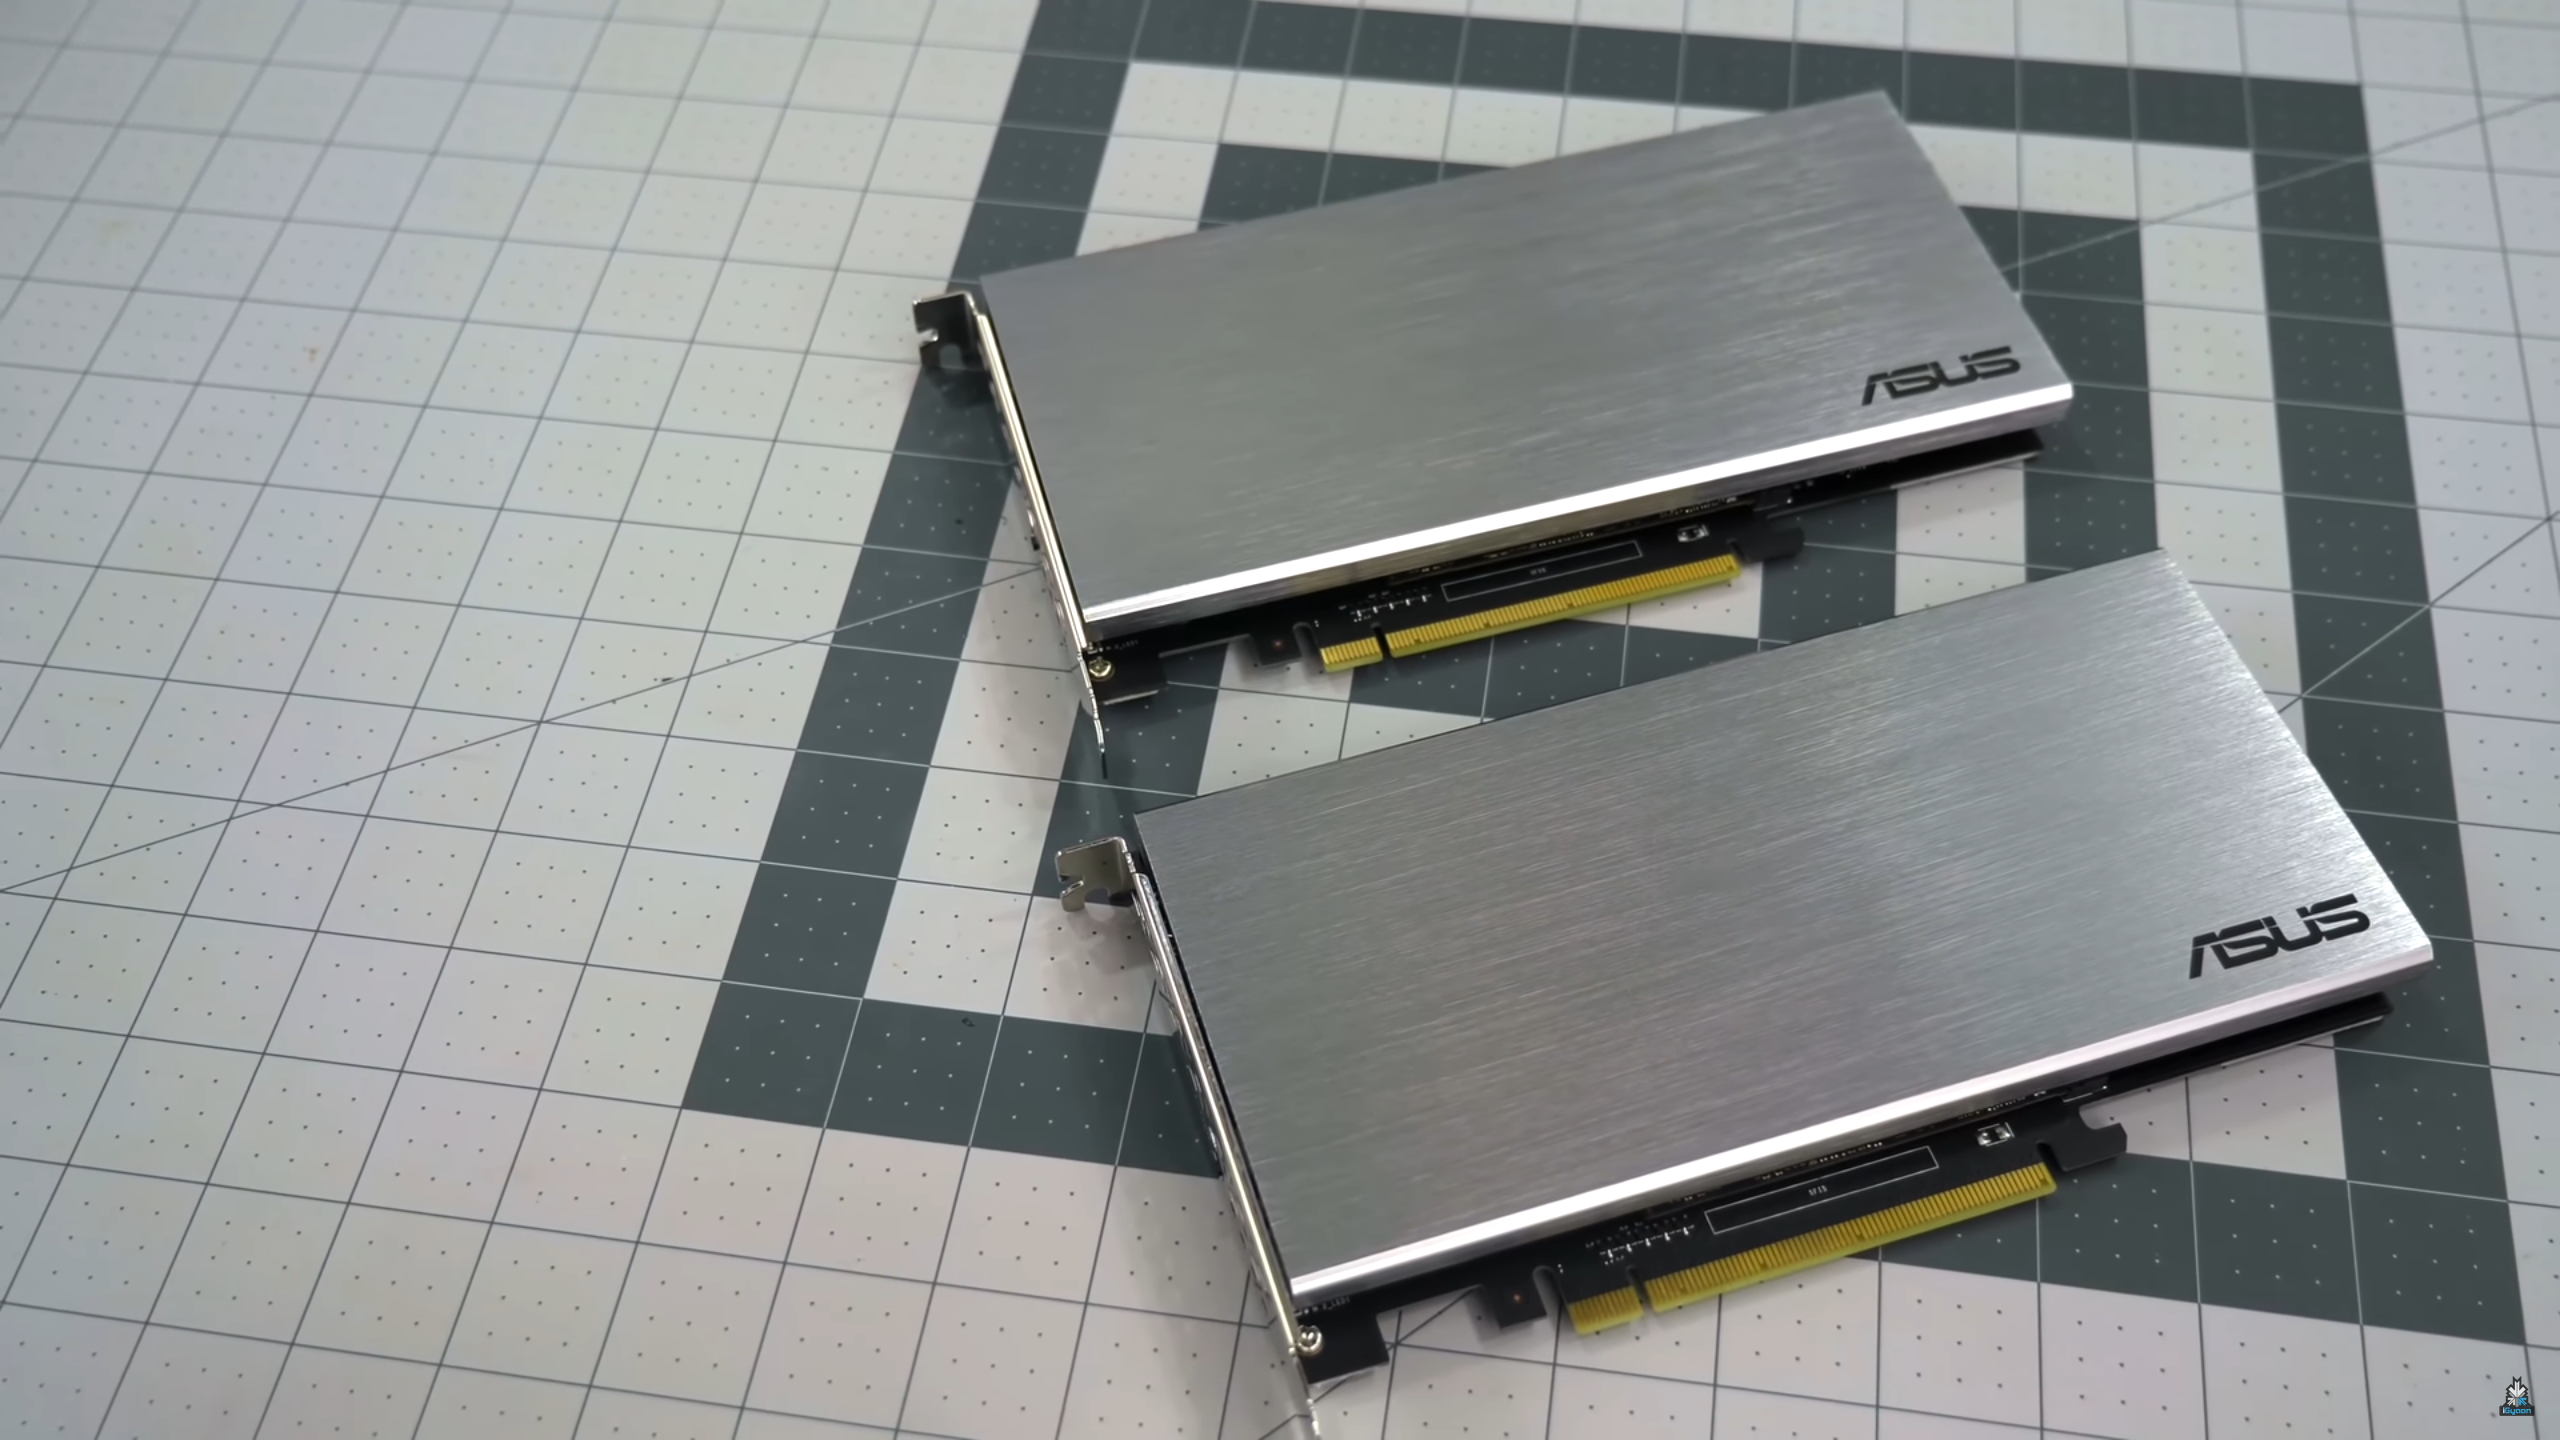 The ASUS Hyper M.2 x16 cards support 4 NVMe M.2 (2242/2260/2280/22110) SSDs each. They are specially designed for Intel VROC and AMD Ryzen Threadripper NVMe RAID setups. Moreover, it has an additional cooling fan inside the bay to ensure that the storage sticks don’t overheat.
Click here to buy the Samsung 970 EVO NVMe SSD (1TB)
Click here to buy the ASUS Hyper M.2 x16 expansion card
Power Supply Unit: Corsair AX1600i
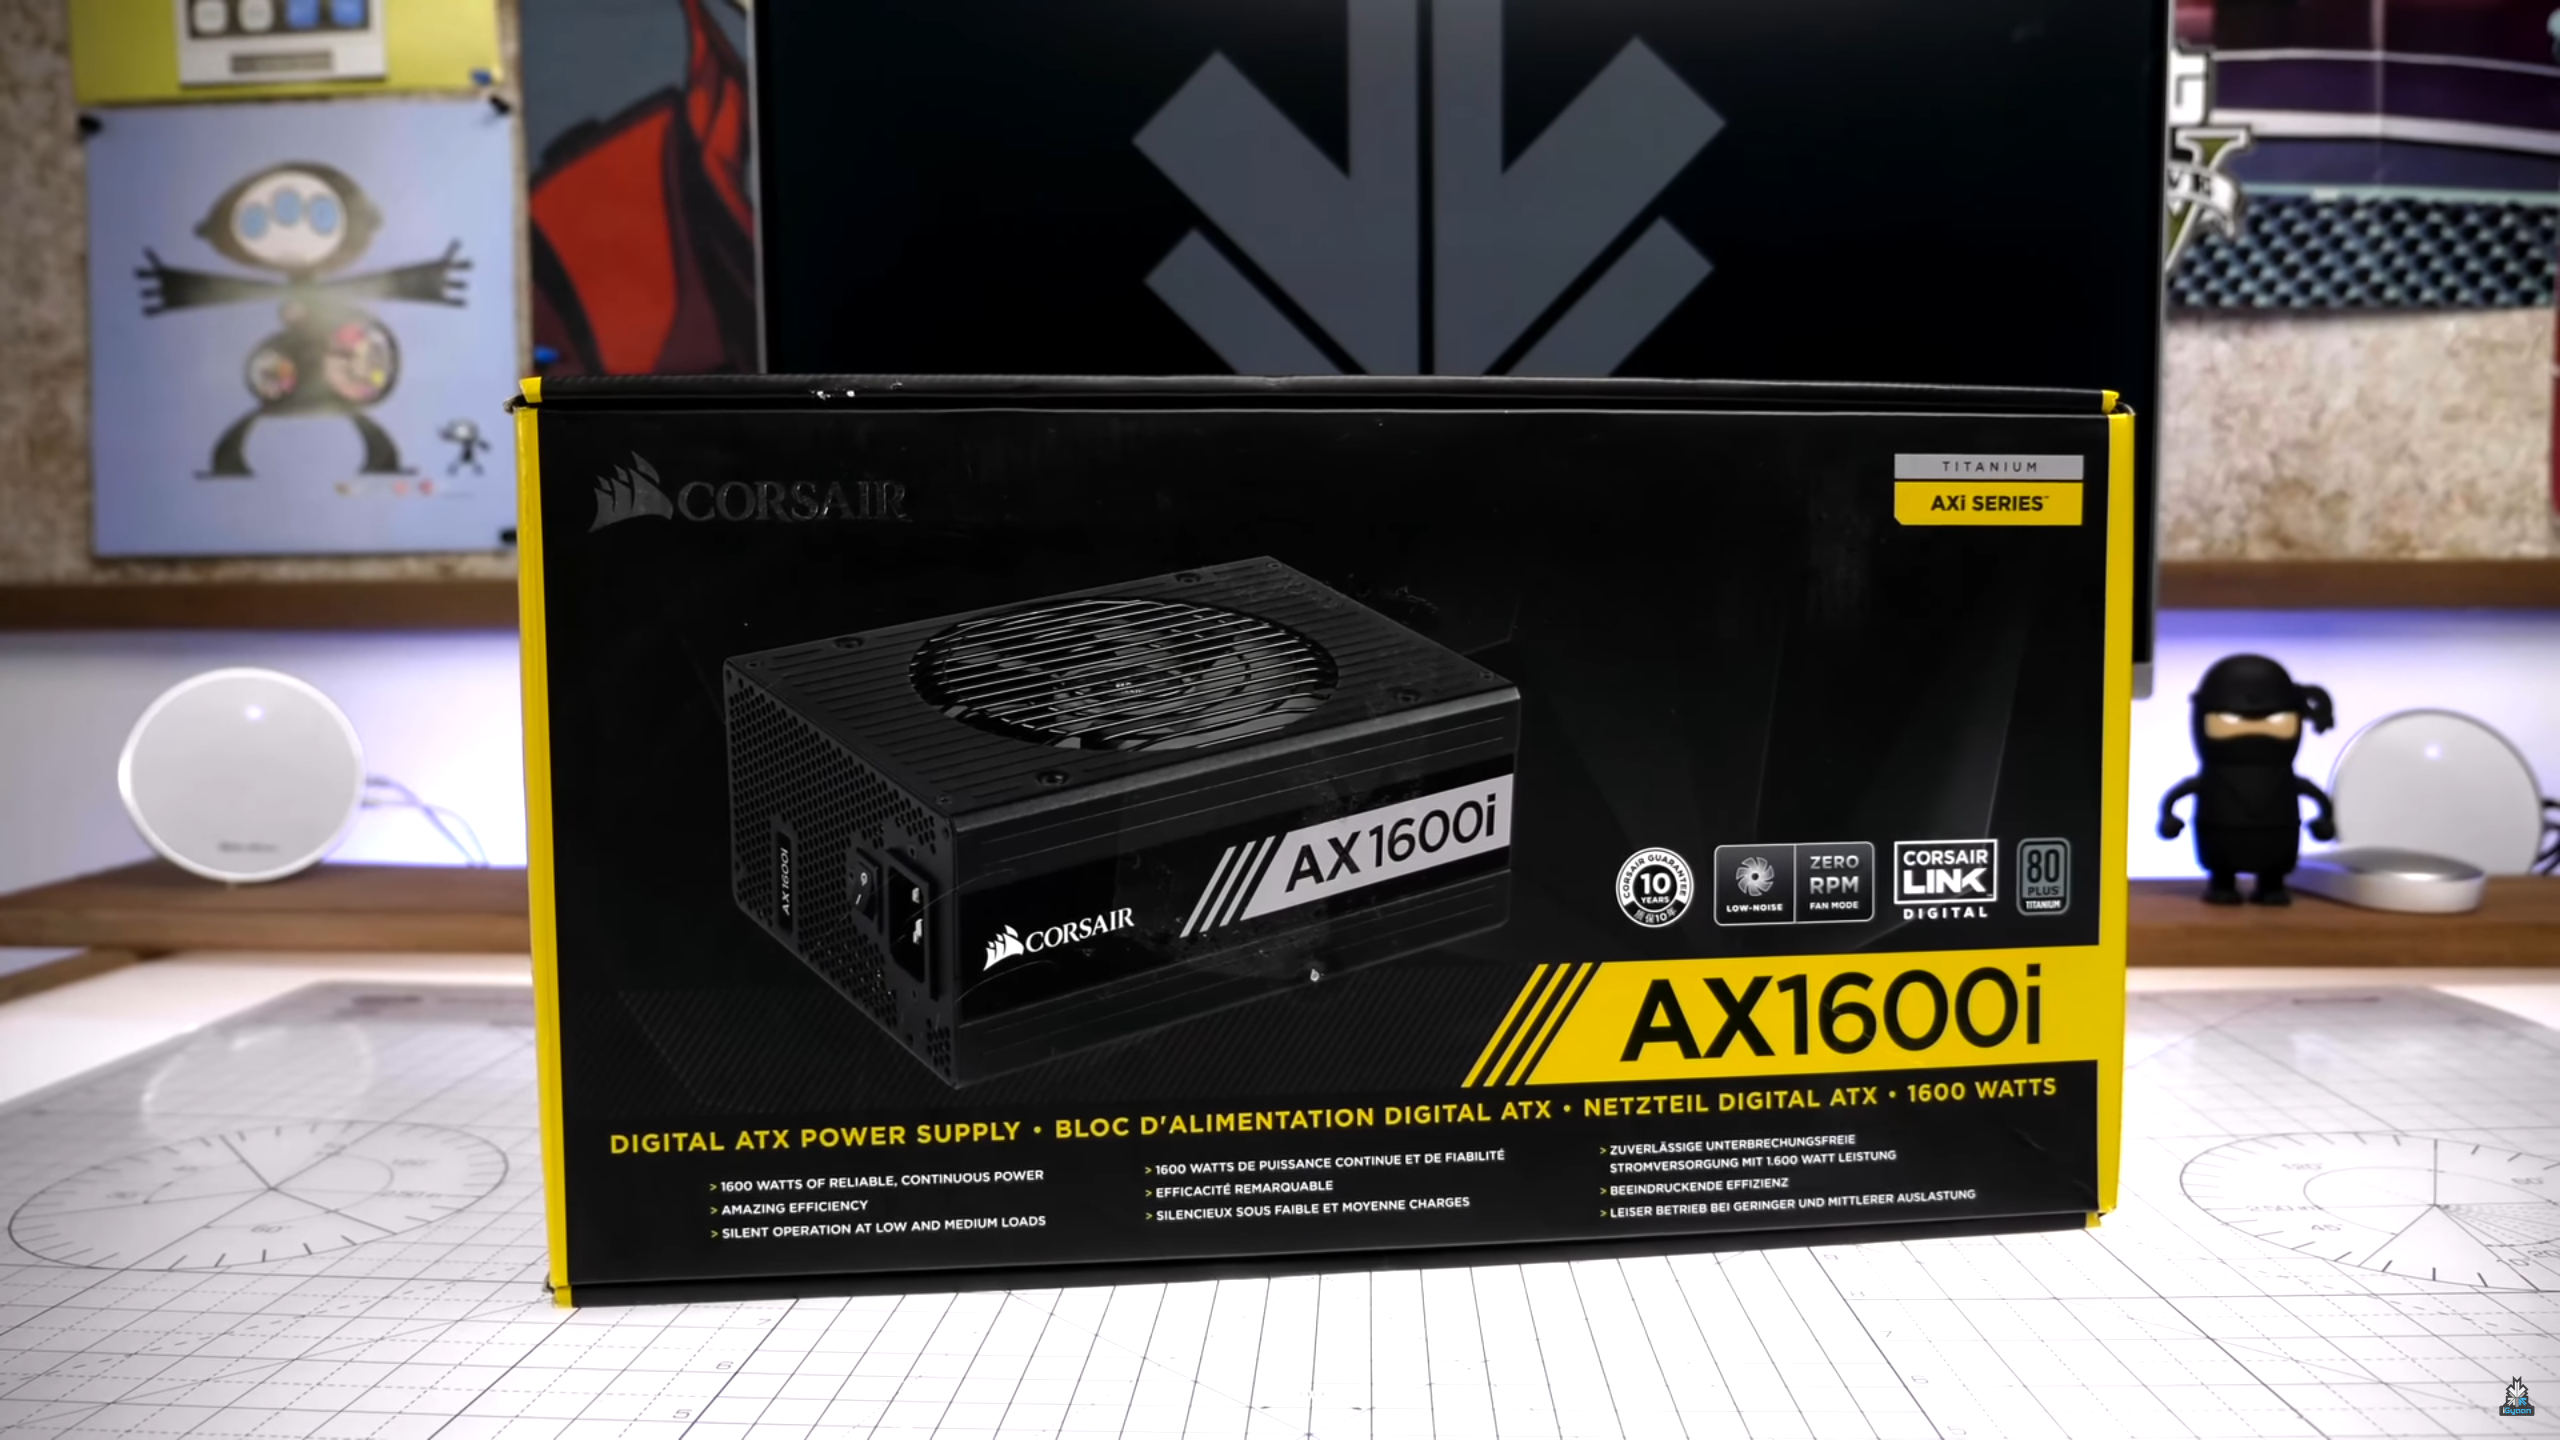 Owing to the sheer number and wattage of components being used in our build, we went for the Corsair AX1600i, which is titanium plus rated modular power supply unit. Its transistors are made out of Gallium Nitride instead of silicon, which ensures a lower resistance and faster switching. The fan speed of the PSU can be regulated with the help of the Corsair Link desktop application (users will have to connect the PSU to the system via a USB cable). Plus, the AX1600i claims to be one of the most silent PSUs in the market as of now. For the sake of our Black and White PC build, we decided to go for custom white Corsair cable sleeves.
Click here to buy the Corsair AX1600i PSU
Click here to buy the Corsair Premium PSU cable kit
Graphics Card(s): Zotac NVIDIA RTX 2080 Ti AMP edition (x2)
Bridge: EVGA RTX NV Link
 In order to make our beast build resilient for times to come, we decided to go for two of the absolute flagship GFX cards from NVIDIA, the 2080 Ti. Each video card has 11 GB of GDDR6 memory and 14Gbps memory speed. Since we render 8K Red Camera footage for our videos, a dual 2080 Ti setup will provide the VRAM memory required to render the aforementioned videos in real time. Moreover, playing the most demanding games on the planet would be a breeze with the dual card setup. Both the 2080 Ti cards are linked with the EVGA NV Link bridge.
Click here to buy the Zotac NVIDIA RTX 2080 Ti AMP Edition Graphics Card
Click here to buy the EVGA RTX NV Link Bridge
Cooling: Thermaltake Pacific M360 Plus Cooling Kit
Cooling: Antec C400 Glacial CPU Cooler
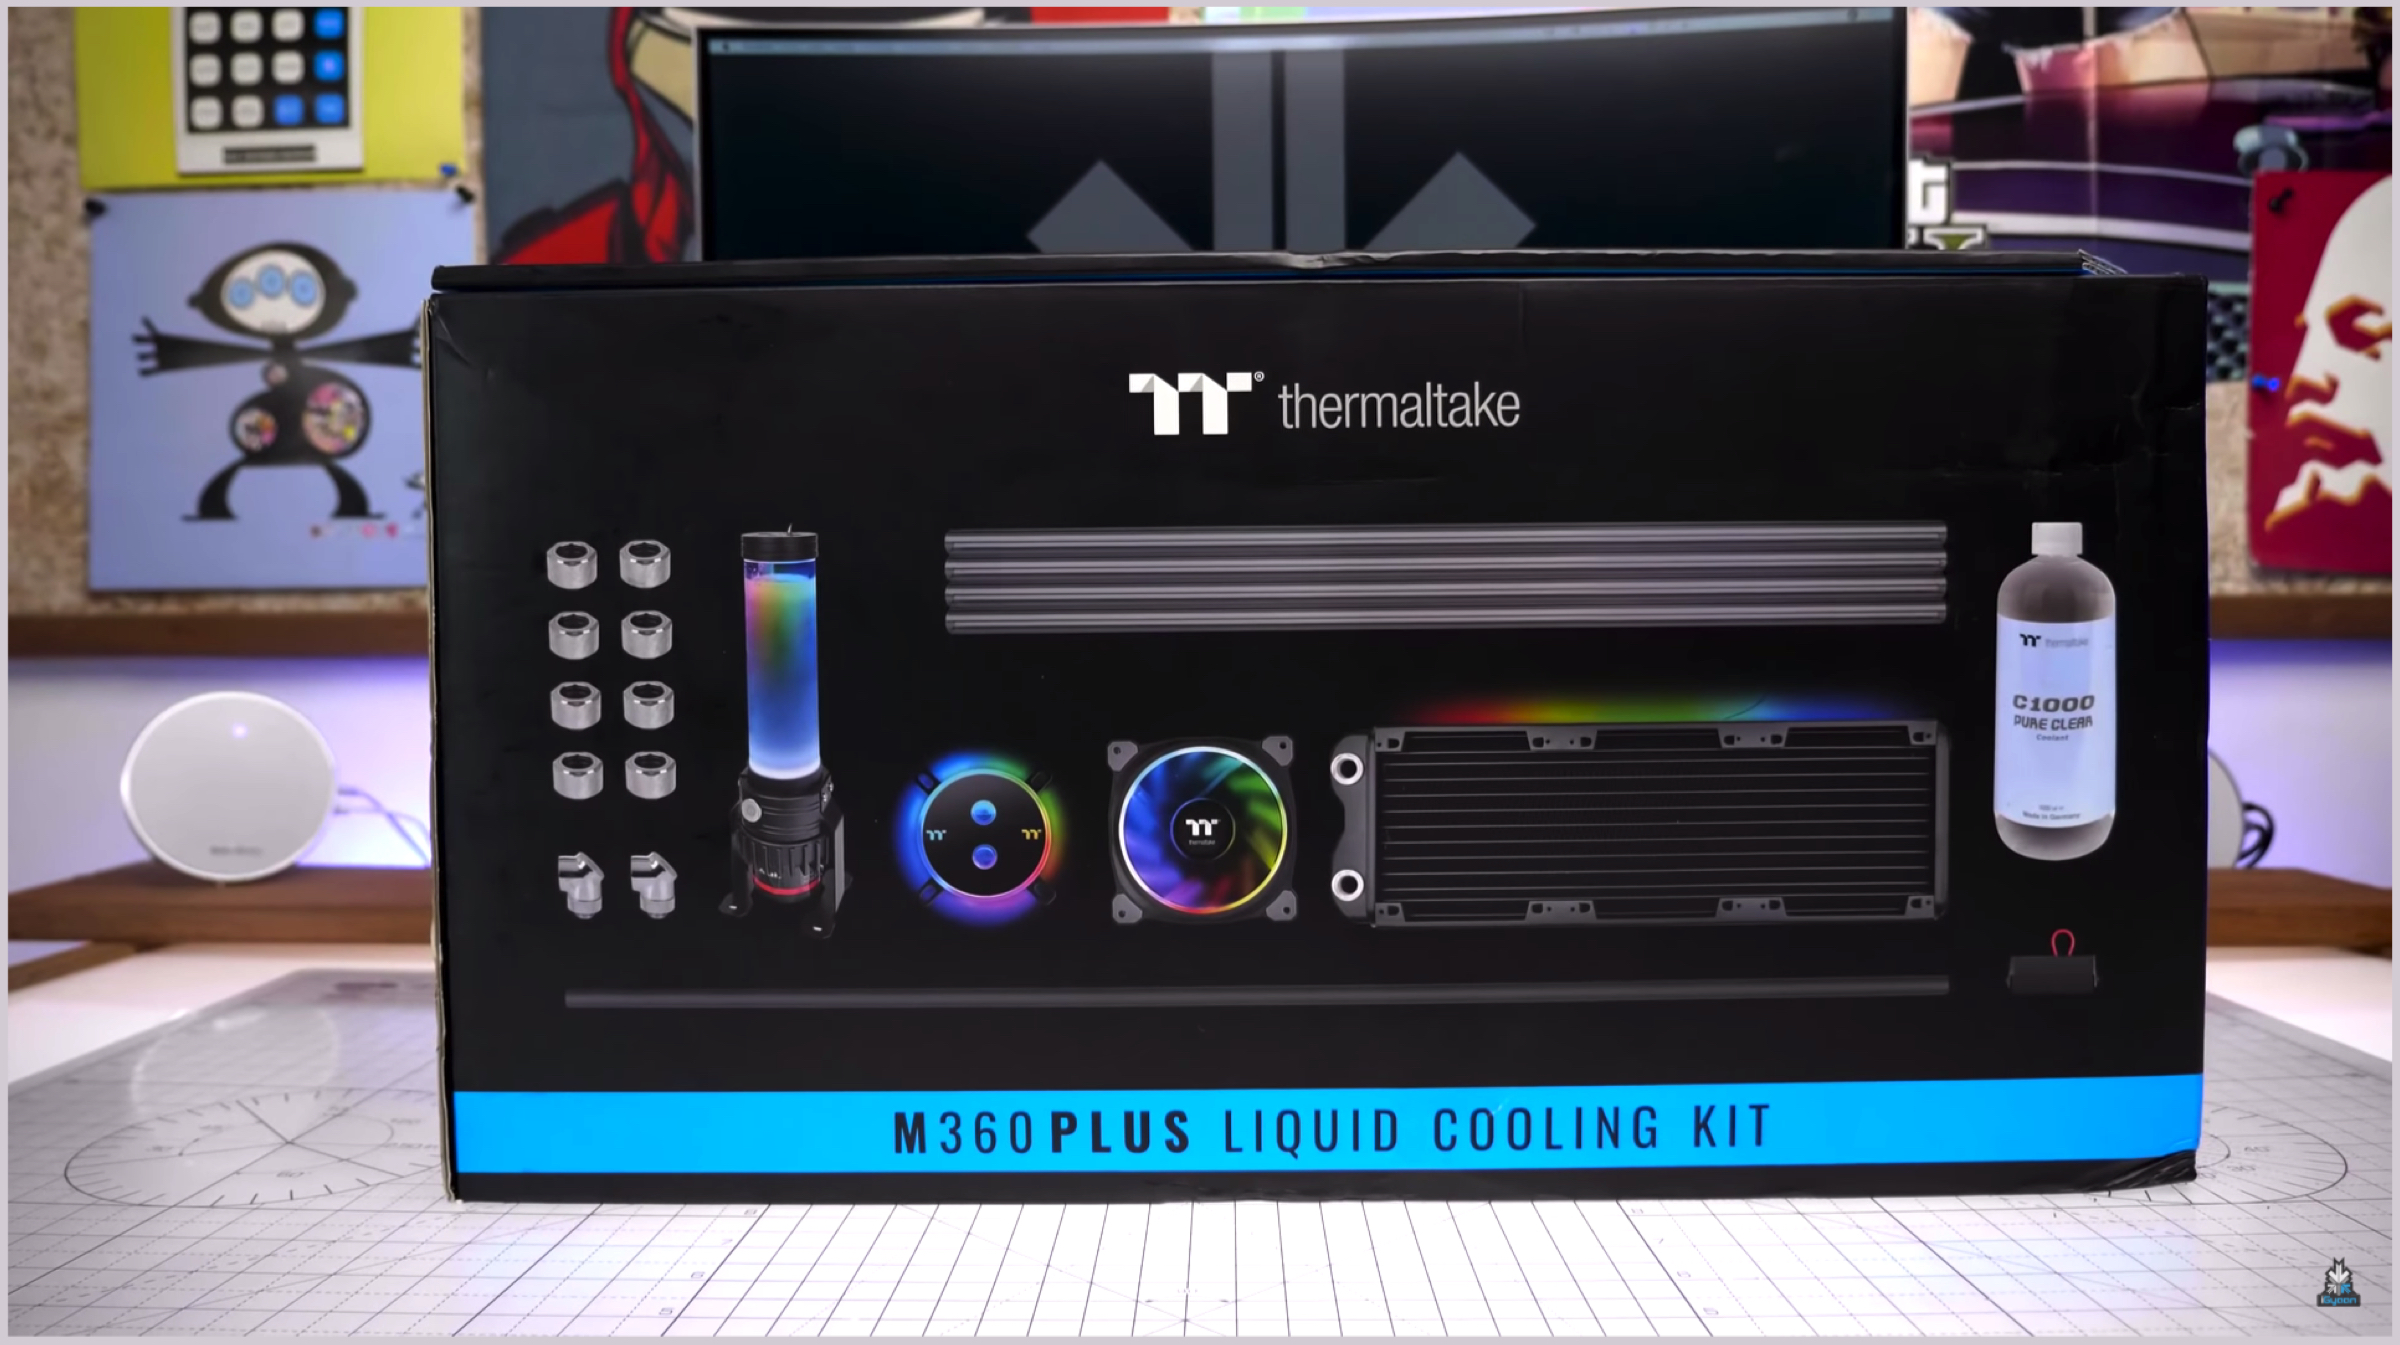 We wouldn’t want our beast build to overheat at any point in time, so we chose to hard-tube the entire system. The kit we used was the Thermaltake Pacific M360 Plus Cooling Kit. It includes a water block, the D5 pump, 3x120mm fans, 360mm radiator, clear coolant and 8 C-Pro compression fittings along with 2 adapter fittings and 4 PETG hard tubes. We are also using the Thermaltake Pacific 12mm bending kit for hard tubing. However, we came upon a decision to not install the hard tubing until all the components are completely installed, so to suffice until then, we chose the Antec C400 Glacial CPU cooler. It has a PWM silent fan and pure copper heat pipes.
Click here to buy the Thermaltake Pacific M360 D5 cooling Kit
Click here to buy the Thermaltake Bending Kit
Click here to buy the Antec C400 Glacial CPU cooler
Monitor: Samsung QLED 48.9 inch Ultra-Wide Curved
 As mentioned previously, the build will be used to edit and render high-resolution videos as well as to play graphics intensive games. To fulfil both the purposes, we chose the Samsung 48.9 inch Ultra-wide curved monitor which has a response time of 1ms and a refresh rate of 144 Hz. With a resolution of 3840 x 1080 px, the display features AMD’s FreeSync technology.
Click here to buy the Samsung 48.9 inch Ultra-Wide Curved Monitor
Keyboard: Razer Black Widow X
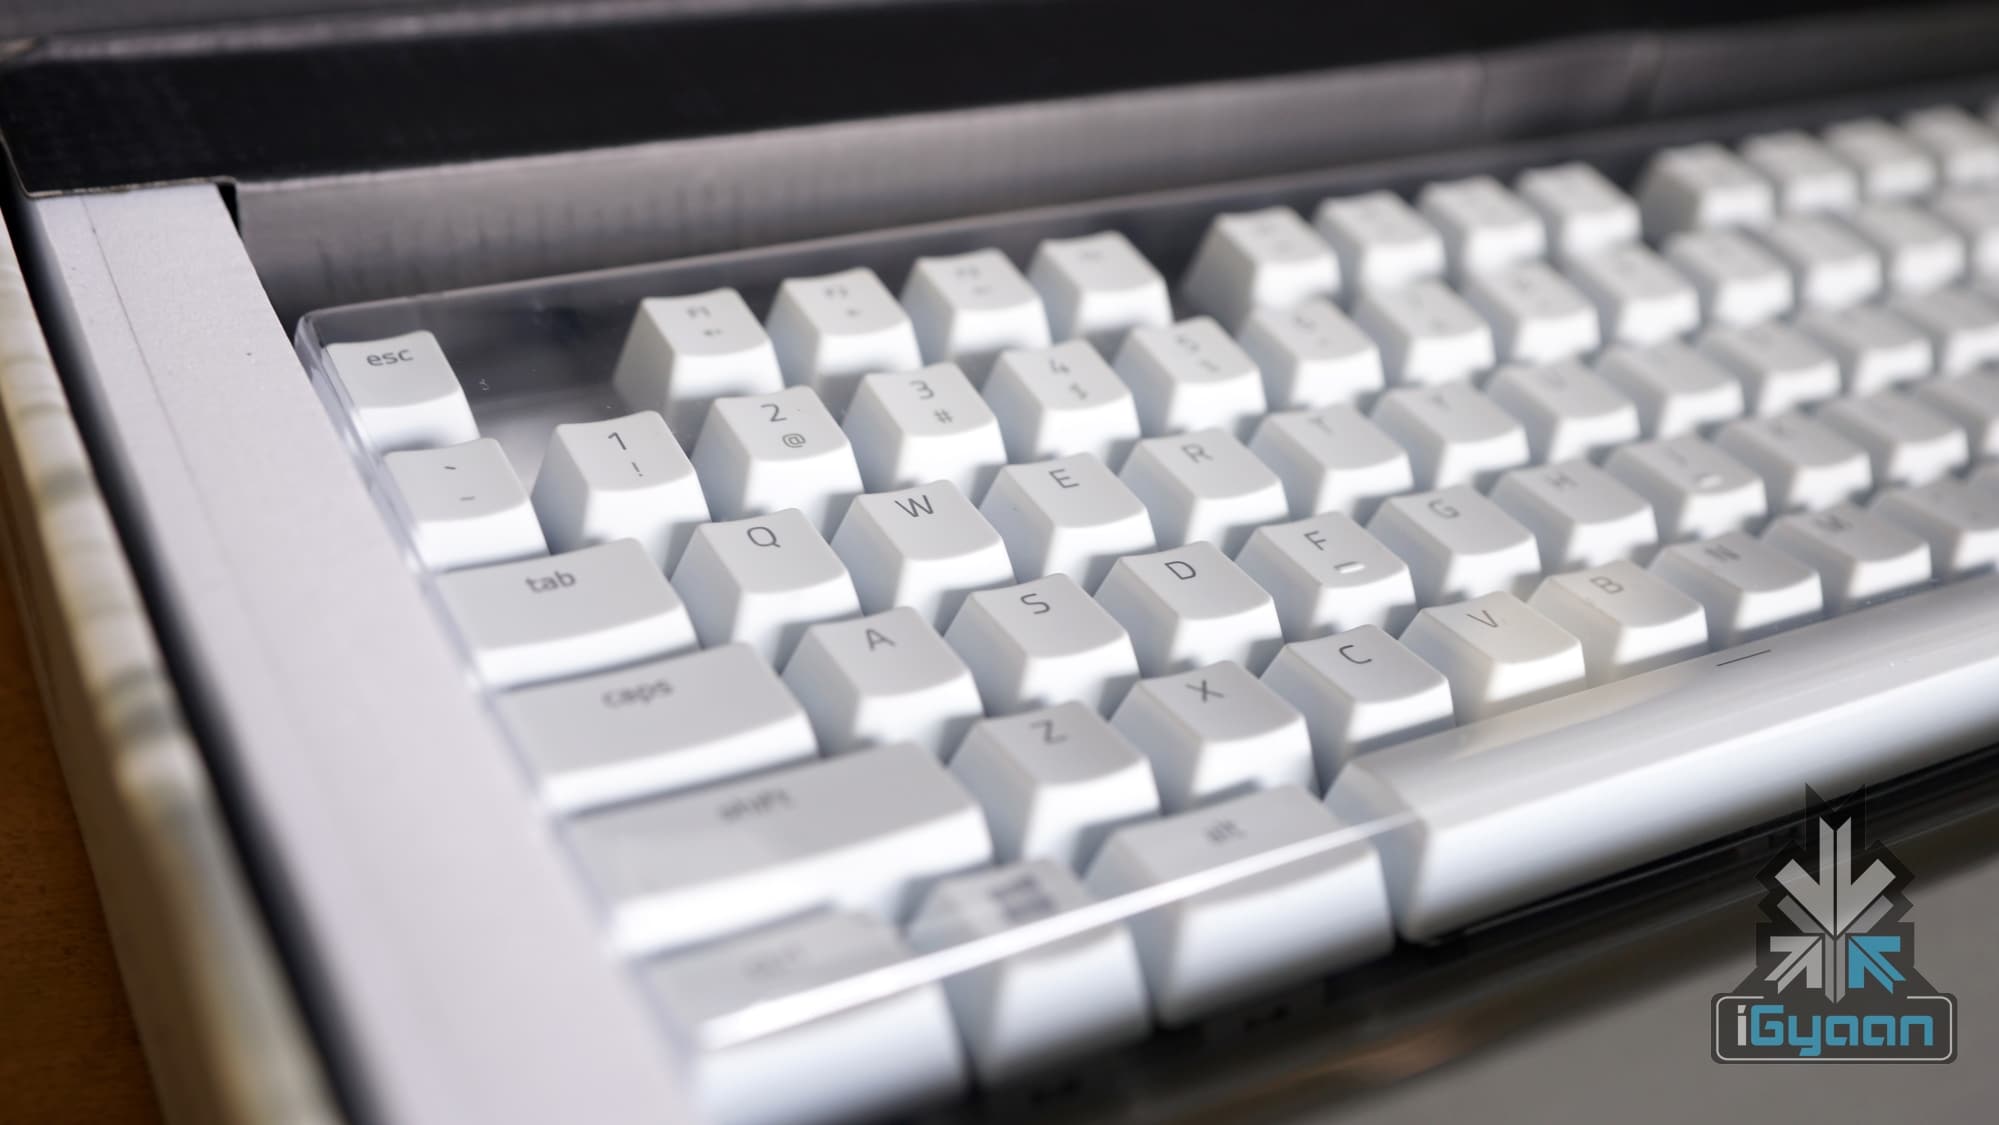 In terms of peripherals, the Razer Black Widow X really stood out as a build-compliant keyboard. Firstly, it is white so it complements the setup really nicely, and secondly, it features Razer’s top-of-the-line tactile Green mechanical switches. The keyboard has programmable keys and N-Key rollover to prevent any ghosting instances. Plus, it boasts of really solid build quality.
Click here to buy the Razer BlackWidow X (Mercury) Mechanical Keyboard
Mouse: Razer Lancehead
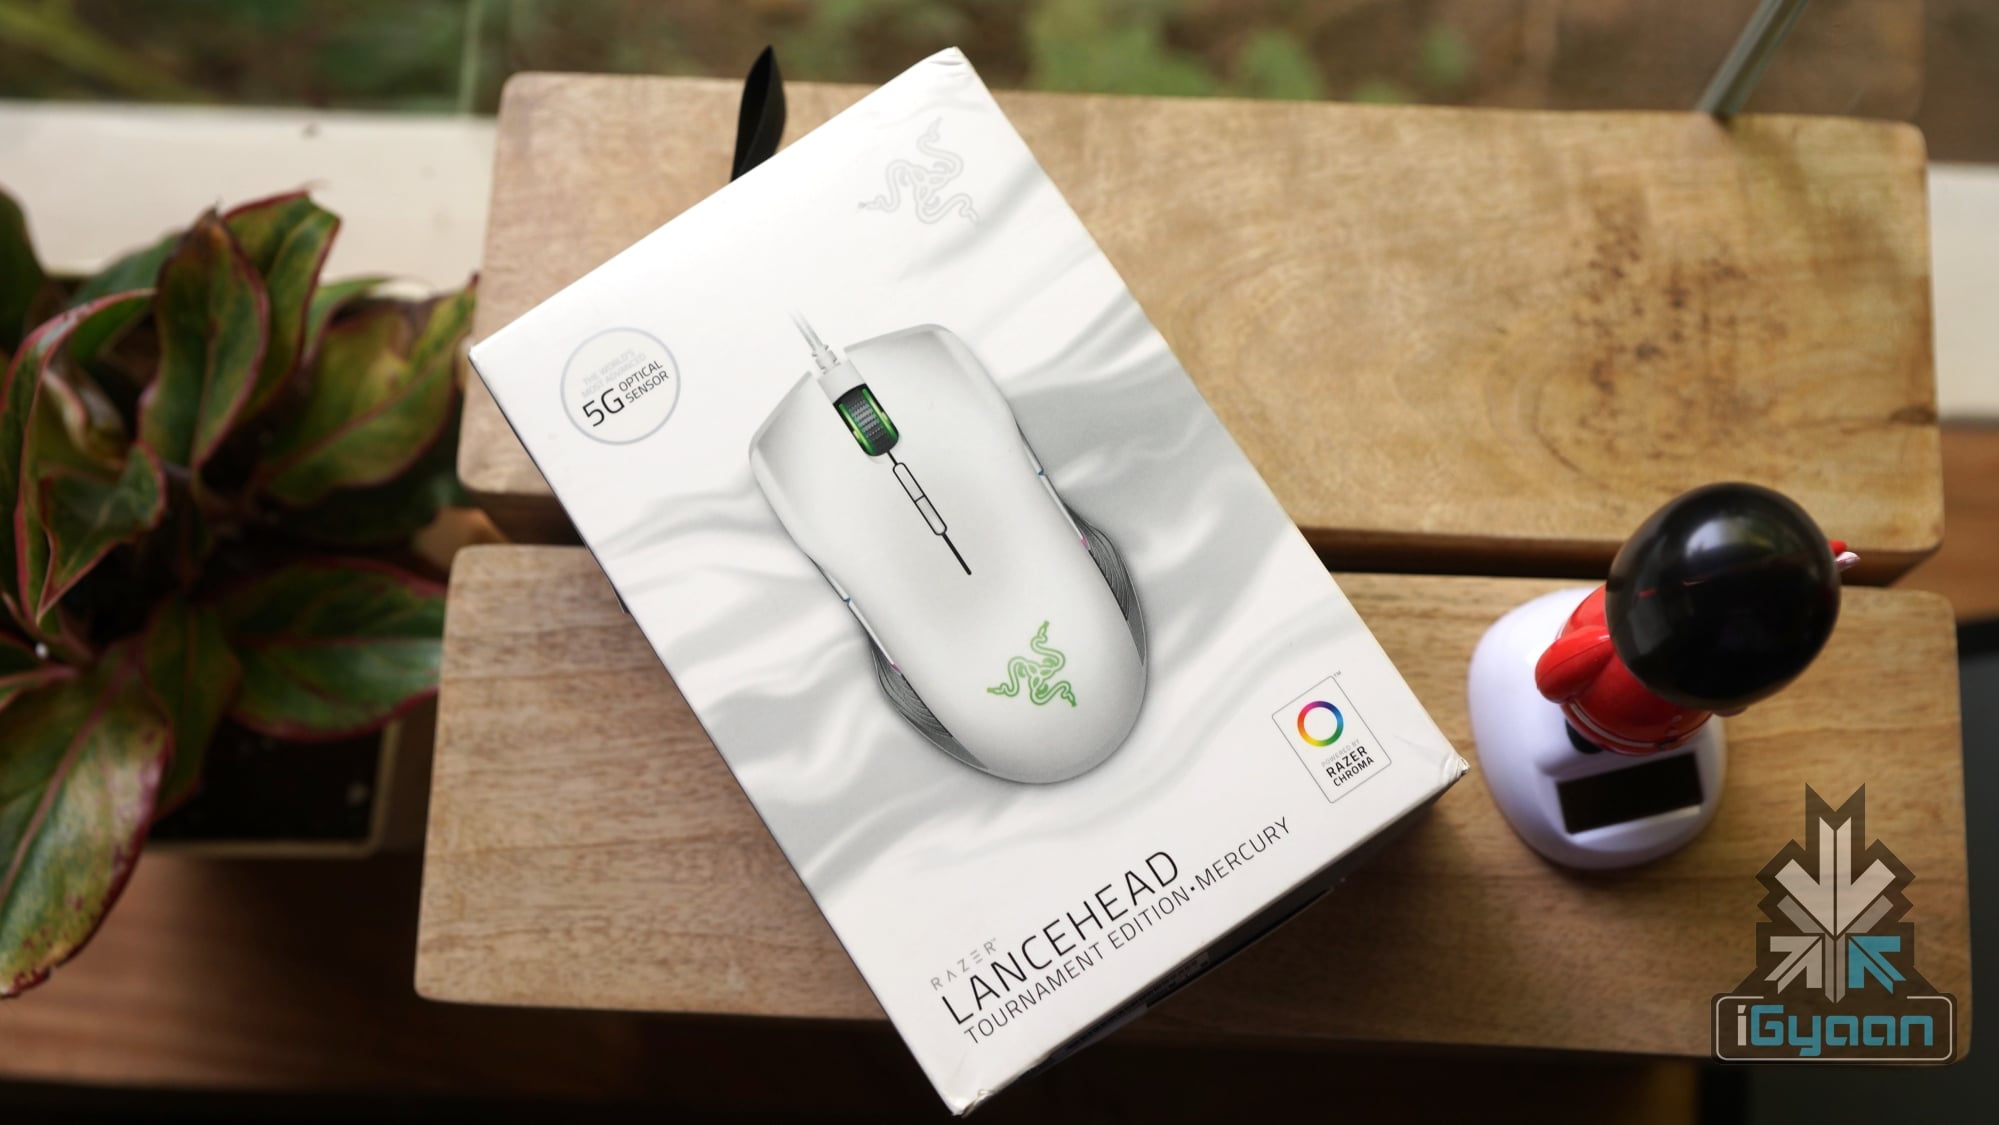 We chose the White Razer Lancehead as it has an ambidextrous design, along with rubber grips on either side. It has a 5G optical 16,000 dpi sensor and is claimed to be optimized for 50 million clicks. Users can customize various sensitivity profiles in the Razer Synapse application. Using Razer Chroma, a multitude of colour schemes can be synchronized between both the mouse and the Keyboard.
Click here to buy the Razer Lancehead (Mercury) Tournament Edition Mouse
Headphones: Steelseries Arctis 7 2019 Edition
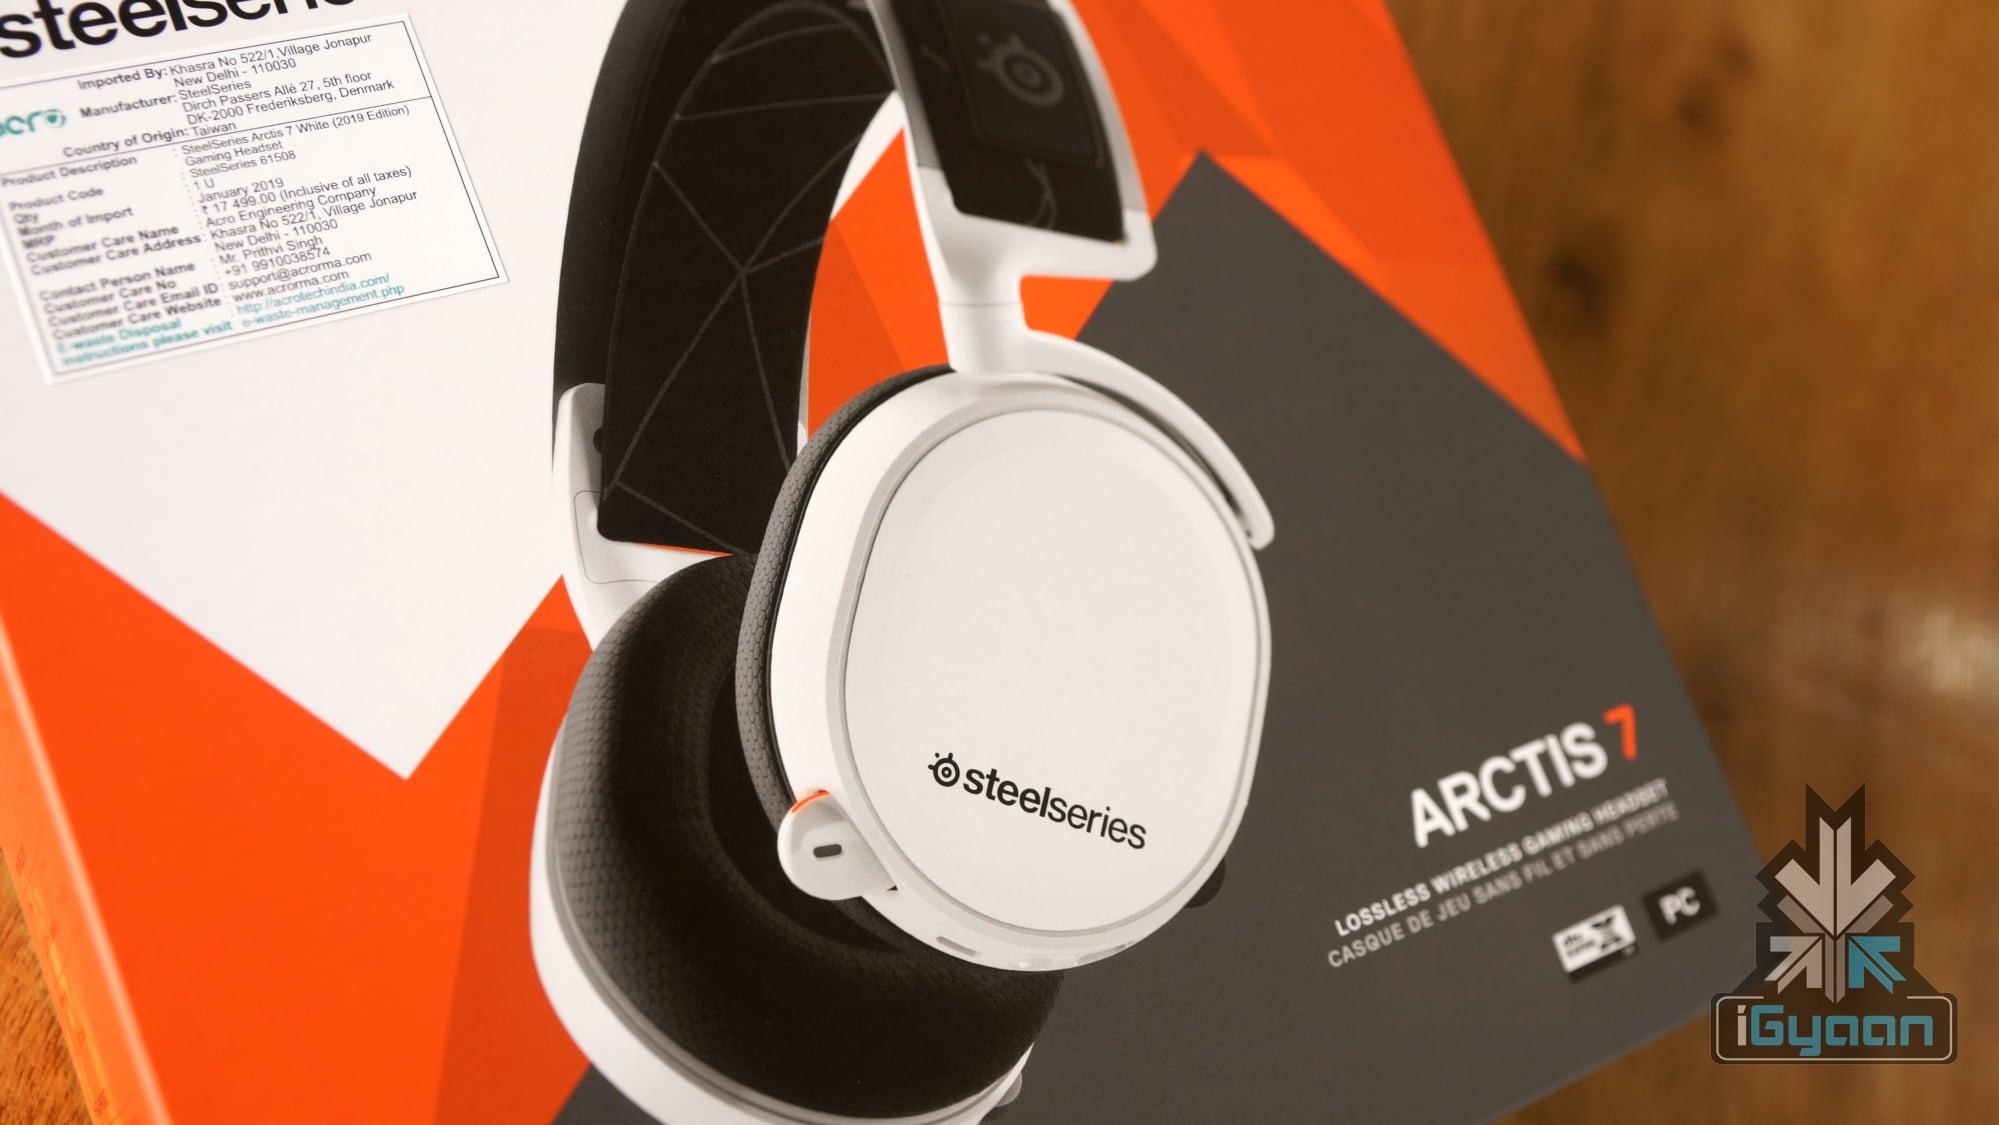 The Steelseries Arctis 7 is one of the most comfortable and good-sounding pair of headphones in the market. The two sweetest perks were the facts that they are wireless as well as white in colour. They connect via a 2.4GHz receiver so that latency loss is eliminated. The headphones are quite comfortable and have a battery life of almost 24 hours (as claimed by Steelseries after the latest firmware update).
Click here to buy the Steelseries Arctis 7 Pro 2019 Edition Wireless Headphones
Proceed to the next page to see a detailed step-by-step guide of how we built the iGyaan Beast PC build.